Super quick and super easy quilted curtains instructions!

I have a great sewing space. Technically, it’s the dining room but whatever. It’s mine. I used to love being in the space. All of my quilting tools and inspiration was around me at all times. Slowly I found myself no longer enjoying working in here. But I couldn’t figure out why. Then, it hit me. All of this fun stuff was distracting. With so much inspiration around me I couldn’t concentrate on one project at a time so nothing actually got done. It all needed to be hidden.
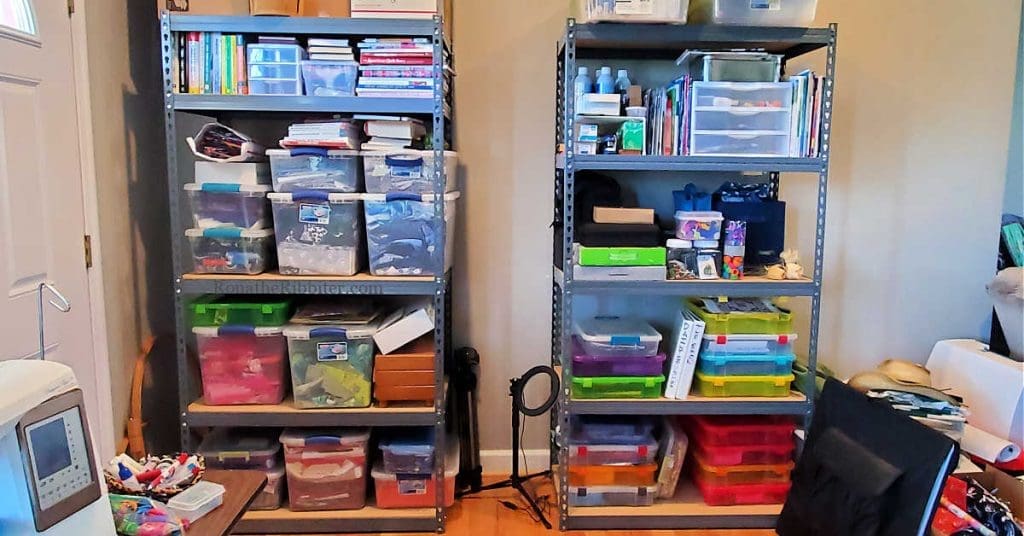
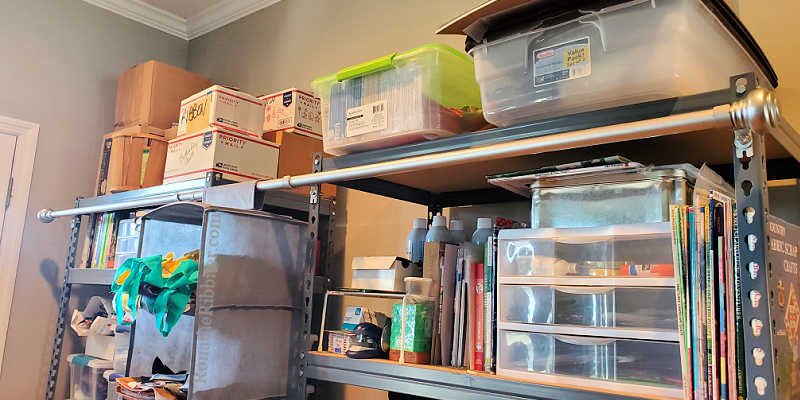
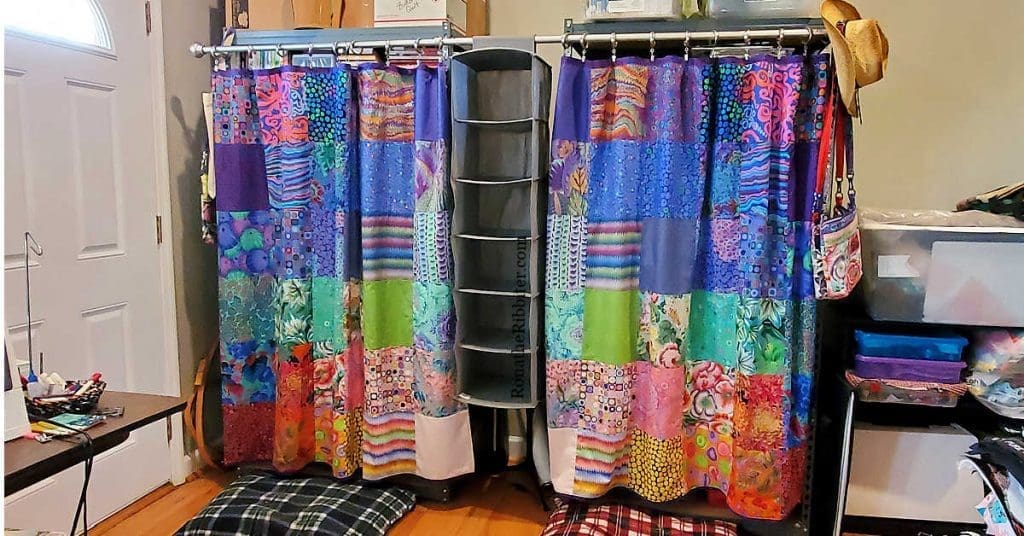
There was just one problem. I don’t have cabinets. I have shelves. Two rather large shelves at that. Why not make quilted curtains to cover the shelves!? Sometimes I’m so brilliant it shocks even me. Ha! Here’s how to make sewing studio quilted curtains.
What You’ll Need
Here are my two rather large shelves. When trying to figure out how to actually hang the curtains over the front, it occurred to me that a few nuts, bolts and washers on these rungs might just do the trick.
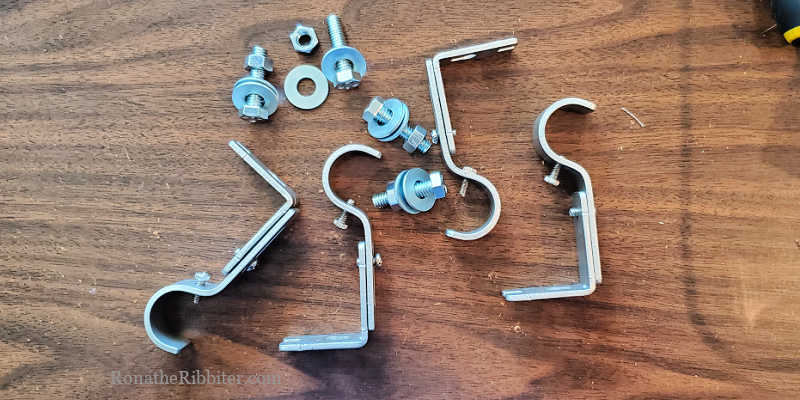
Here’s the hardware I purchased:
- Curtain Rod (84 inches) – this covered both shelves and 2 curtains. Be sure to measure your total space to get the correct size curtain rod.
- Curtain Rod Brackets – I used 4 brackets (2 per shelf). These are adjustable and can fit up to 1 inch curtain rod.
- Nuts, Bolts & Washers – I used four of the ¾ inch sets (1 nut, 1 bolt, 2 washers), one for each bracket. You can pick them up at any hardware store. Be sure to get sets that will fit the holes in your curtain rod brackets.
- Ring Clips to hang the curtains – I used clips because it was faster and easier than button holes or a sleeve. Because I was making 2 curtains, I purchased 2 sets of ring clips.
- See “Making Your Quilted Curtains” below for your fabric requirements.
The reason I did not use the brackets and screws that came with the curtain rod is two-fold. The screws were designed to mount on a wall but I was using a shelf. And the brackets were too long. I used the adjustable ones because I could get the curtain rod closer to the shelf.
*Disclosure: Please note that some of the links above may be affiliate links. When you click and purchase an item I earn a commission at NO additional cost to you. All the money raised helps to keep this blog up and running.
Hanging the Curtain Rod
First, you’ll want to prepare the brackets. I pushed them all the way in so they could be as close to the shelf as possible.
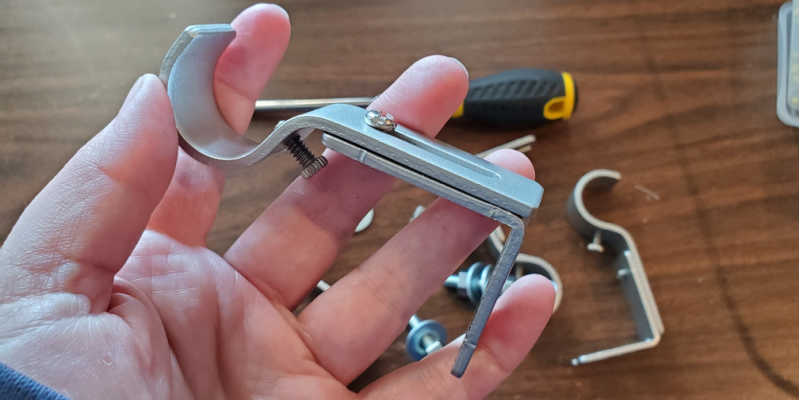
To place them on the shelf, put one washer onto one bolt. Put the bolt through the bracket then through the hole in the shelf. Place the second washer and the nut on the end of the bolt and tighten it all down.
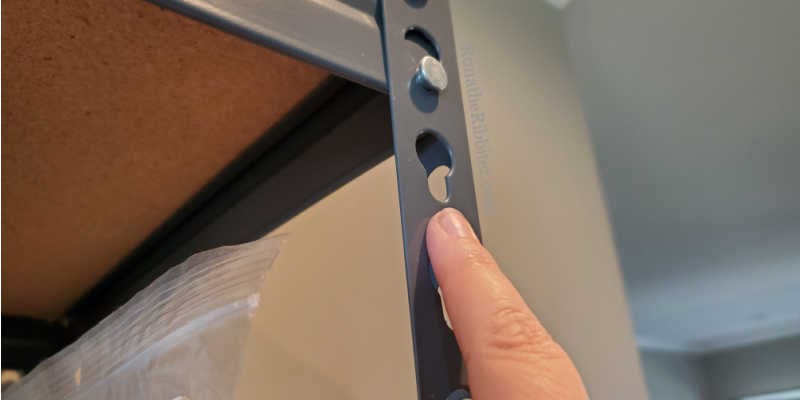
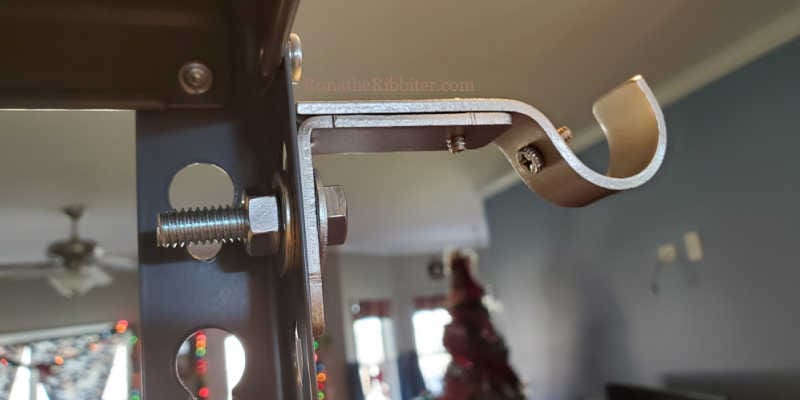
Repeat this step for all of your brackets.
Place the curtain rod onto your brackets and tighten the little screws to hold the rod in place. Finally, slide the rings over the curtain rod. I used one set of 10 rings for each shelf.
That’s it! Now we’re ready to make our quilted curtains!!
-
 Quilted Keychain Pattern (PDF)$5.00
 -
Water Crystals Quilt Pattern$12.00
-
Winter 3-in-1 Table Quilts Pattern$12.00
-
Stargazer Quilt Pattern$12.00
-
Stonehenge Quilt Pattern$14.00


Making Your quilted Curtains
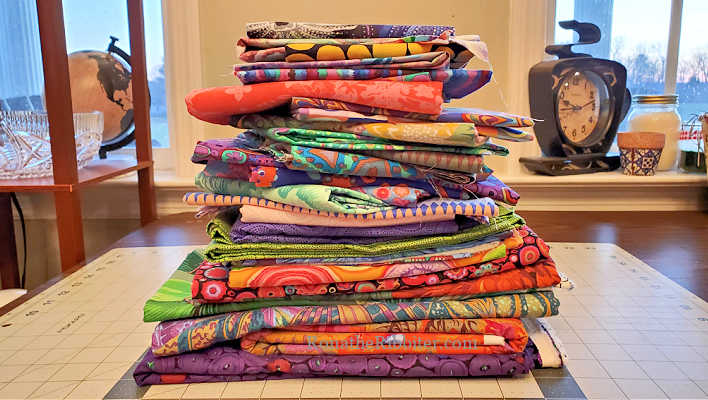
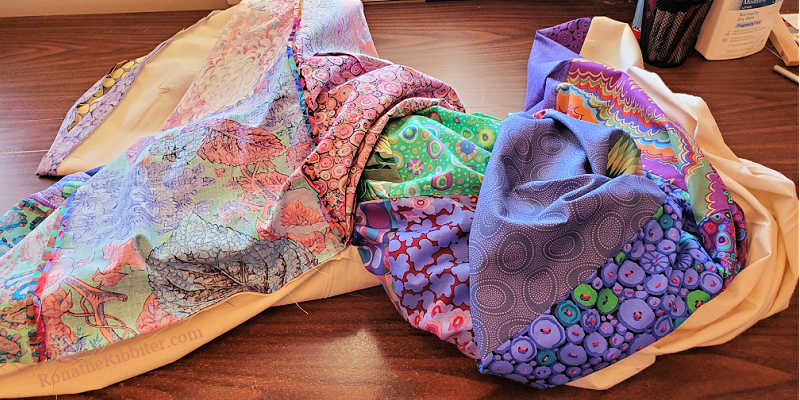
I have a TON of Kaffe Fassett fabric. You might say I’m a little obsessed. But all those fabrics came in handy for making these curtains!
The first thing you want to do is measure your space. Measuring from the curtain rod to the bottom of the shelves,
I needed to cover approximately 60 inches height x 36 inches wide of space.
Just like any other curtains, you want to increase your width by 1 ½ to account for slack in the curtain when it’s spread out across the curtain rod.
Which means I needed to make quilted curtains that were around 60 x 54 inches.
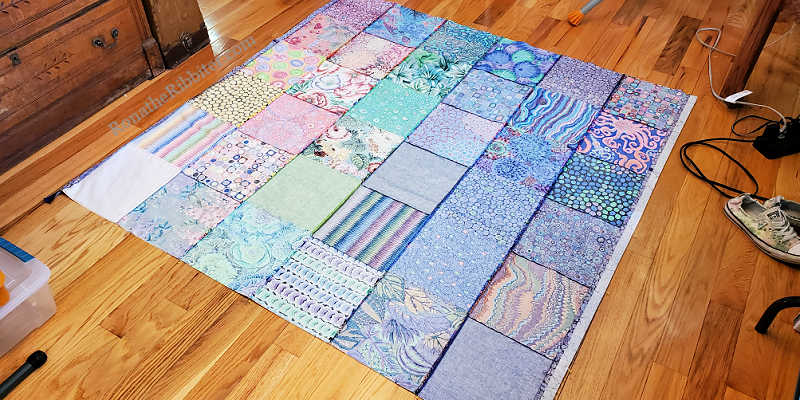
Well, now I need to figure out a pattern that would fit 60 x 54 inches. Oh my gosh! A layer cake!!
Why not use 10 ½ x 10 ½ inch squares and make a 60 x 60 inch curtain? Brilliant! And that’s exactly what I did.
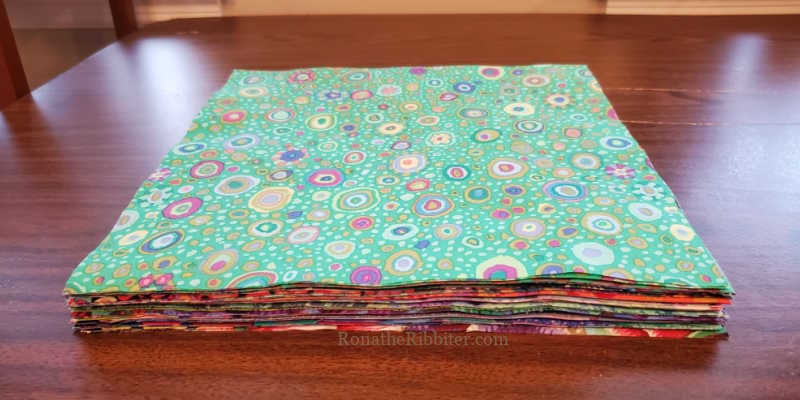
For ONE quilted curtain, you will need 36 squares. If you’re making TWO quilted curtains, you’ll need 72 squares. Don’t ya know it. I had way more than 36 Kaffe Fassett fabrics in my stash. But after much debate, I finally settled on these. 😊
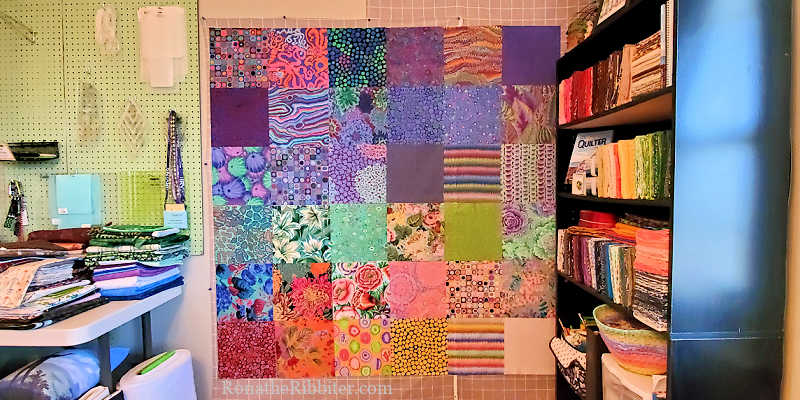
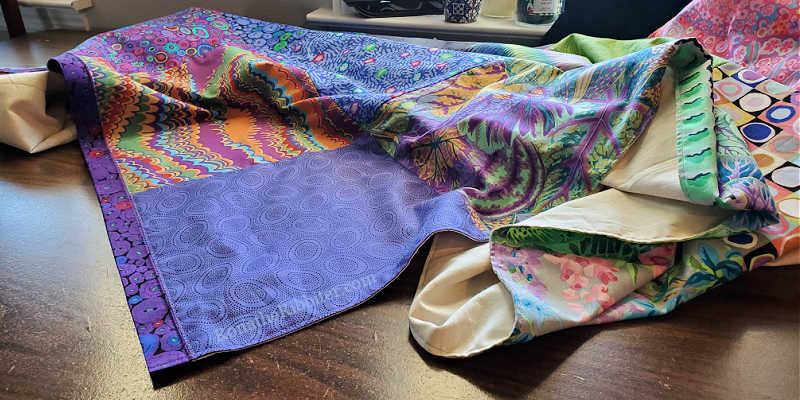
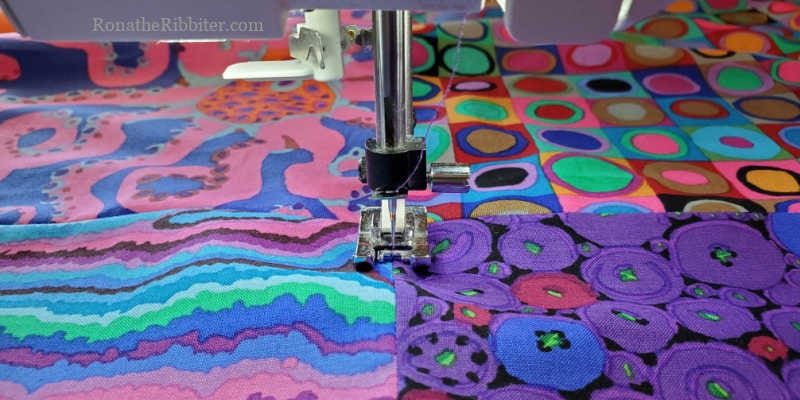
Stitch your 36 fabric squares together in rows 6 across and 6 down.
Suggestion: When making the second curtain top, I stitched the fabric square rows in the opposite direction to make a mirror image of the first curtain top.
How to Finish your quilted curtains
To finish your quilted curtains, you’ll need:
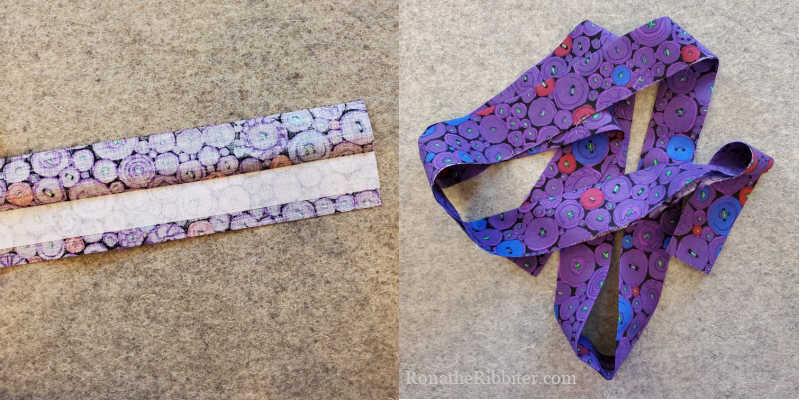
- Top – 3 inch x 60 ½ inch fabric strip (2 strips pieced together)
- Bottom – 2 inch x 60 ½ inch fabric strip (two strips pieced together)
- Interfacing – 1 inch x 60 ½ inch strip (I used midweight fusible interfacing)
- Lining – 60 ½ x 60 ½ fabric (I used a 90 x 60 1/2 inch piece of muslin that I trimmed down to 60 ½ x 60 ½)

To make your curtain top: Fold the 3 x 60 ½ inch strip in half lengthwise and press.
Open the fold and place the 1 x 60 ½ inch interfacing against the fold (on the WRONG side of fabric) and fuse in place.
Assembling Your quilted Curtains
Putting this curtain together was really quick. Even faster when I put the second one together. If you’ve ever made a basic bag or a pillow case, it’s very similar to the final construction of those.
I do want to mention that all seams will be using ½ inch seam.
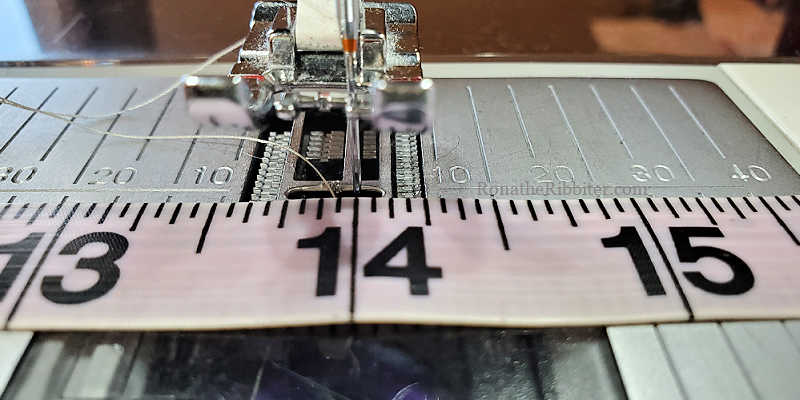
Place the curtain top strip and the top of the main body right sides together, lining up the raw edges, and stich using ½ inch seam. Press the seam toward the main curtain body.
Line up the other raw edge of your curtain top strip with the lining raw edge, right sides together. Stitch and press toward the lining.
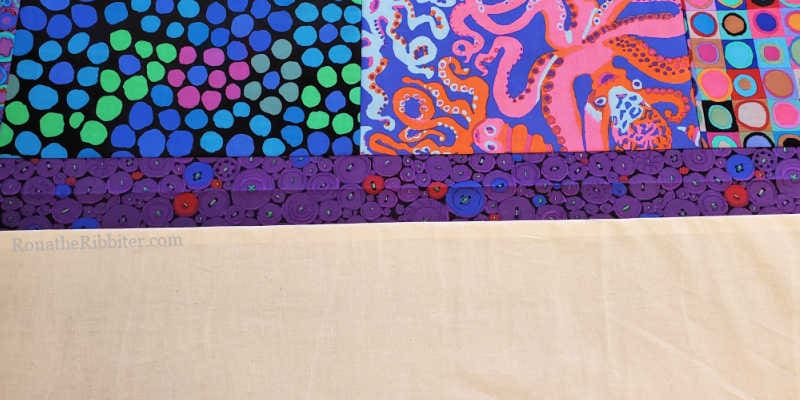
Repeat this process with the bottom 2 x 60 ½ strip. Press each side toward the main body and lining.
You should now basically have one giant loop.
Make sure that all fabrics are right sides together.
On top edges, line up your main body and lining seams on each side raw edge and pin in place. Repeat this on the bottom edges as well.
Leaving one square open for turning, stitch along both sides of your curtain.
Gently pull your curtain right side out through the opening.
Press all edges around your curtain and top stitch all the way around. I decided to get a little fancy (not really) and do a zig zag stitch across the top to help hold it in place.
Now for the Quilting
In order to keep these beauties from getting all wonky in the wash, I did a quick stitch-in-the-ditch down each seam line from top to bottom. You can obviously do more if you like but I think that’s just enough to keep in them in place and give the drape a nice clean look.
All that’s left is to clip this baby to the rings and we’re done!
Of course, if you’re making two curtains, as soon as you repeat these steps to finish the second curtain, you’re quilted curtains are done!
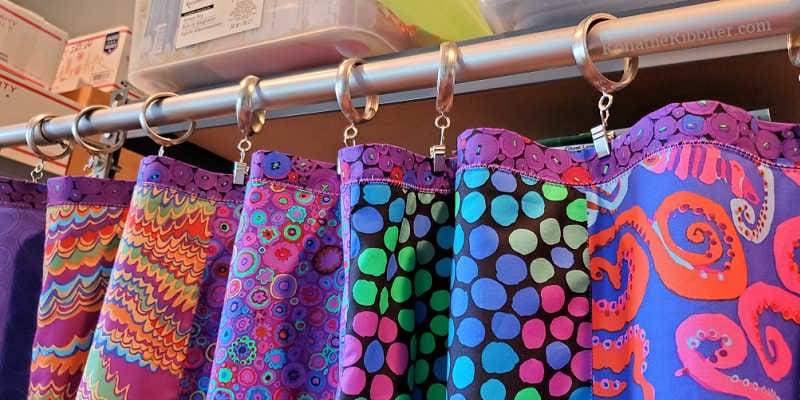
Now all that’s left is to stand back and take in the beauty that is all of your wonderful distractions hidden behind one (or two) giant eye-candies. And take tons of pictures to share on social media. 😊
How’d your quilted curtains turn out? Let me know in the comments!
RELATED POSTS:
- More Project Posts
- Take the big Quilter’s Bucket List Challenge!
- Want to visit a Quilt Show? Check out the entire list HERE!
- Complete lists of Quilt Shops in the US
- How to Get that Travel Budget under control
Do you know someone who would love to make these studio shelf quilted curtains? Click the buttons below to share the list with your friends! Then be sure to share your blocks with us in the Traveling Quilters group on Facebook!
more project blogs


more from the e-store
-
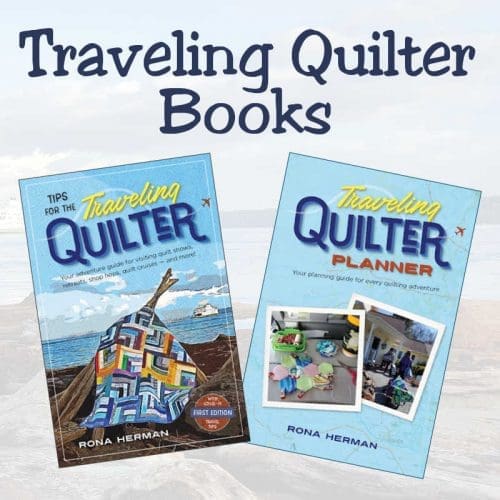
Traveling Quilter BooksPrice range: $14.95 through $39.90
-
Life Happens, Quilting Helps Quilting T-Shirt UnisexOriginal price was: $25.00.$15.00Current price is: $15.00.
-
Quilter’s Travel Journal – Shows and Retreats$19.95
-
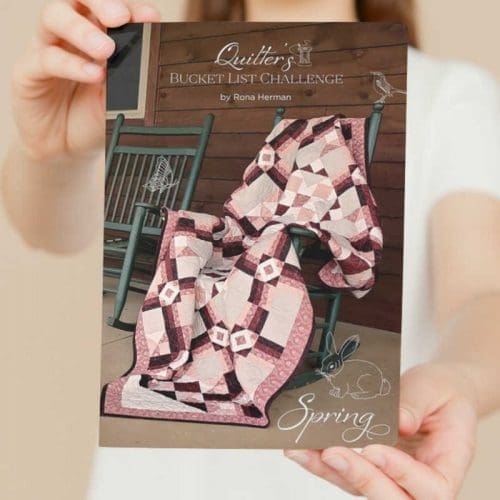
Quilter’s Bucket List Challenge – Spring Workbook$9.95


Leave a Reply