All the steps to make this fabulous Scandinavian Christmas Star Ornament!!
Every year I like to make something as an extra gift for my friends and family. Some years I go all out with the homemade candy and jam. But most years all I get time for is a few Christmas ornaments. This year, I wanted to do something a little different. So, I decided to try my hand at the Scandinavian Christmas Star ornaments!
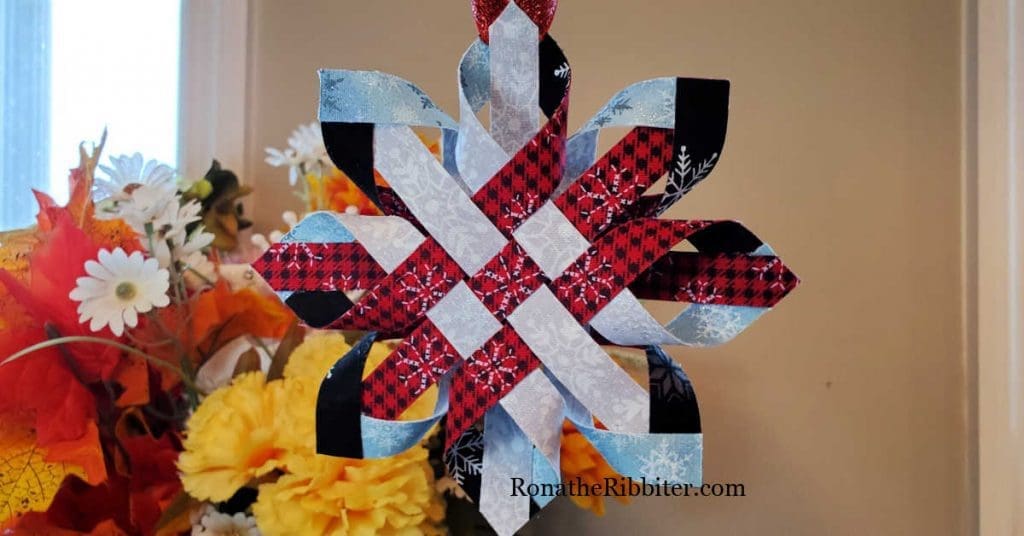
Believe it or not, these Scandinavian Christmas Star ornaments are sew fun and simple to make. But they look so intricate that your friends and family will think you slaved away for hours and hours making these beautiful keepsakes just for them. 😀
Materials needed
Another great thing about these Scandinavian Christmas Star ornaments is the scrapbusting! All those leftover scraps from your Christmas quilt will come in super handy. Here’s what all you’ll need:
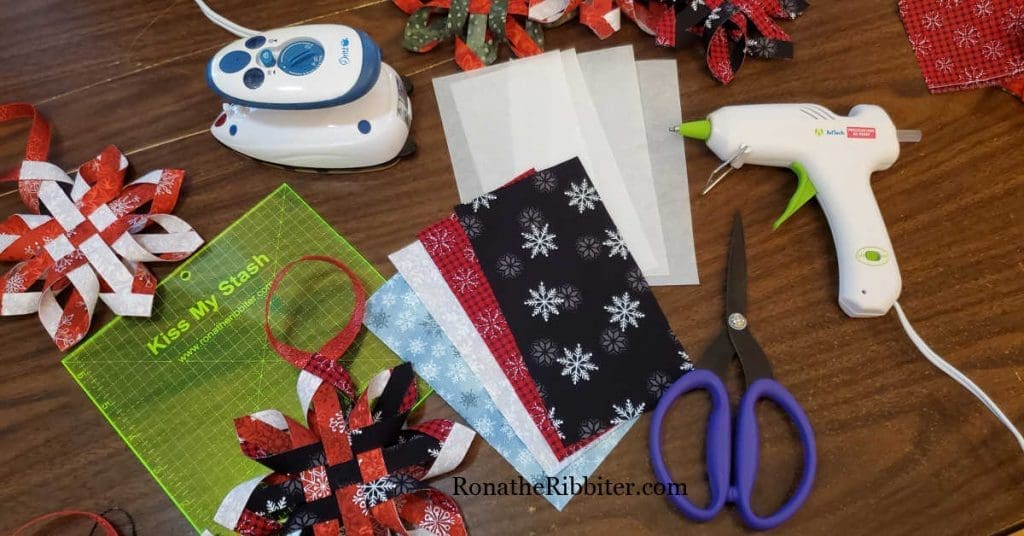
- 4 fabric scraps cut to 3 1/2 inch x 6 1/2 inch rectangles
- 4 pieces of double sided fusible interfacing (I used Wonder Under)
- Ribbon – cut to approximately 8 inches
- Hot glue gun
- Craft iron
- 6 1/2 inch square ruler
- Cutting mat and rotary cutter
- Good fabric scissors
*Disclosure: Please note that some of the links above may be affiliate links. When you click and purchase an item I earn a commission at NO additional cost to you. The income raised goes to keeping the site up and running and community supported.
First thing’s first
The very first thing you’ll need to do to make your Scandinavian Christmas Star ornament is fuse the double sided interfacing to the WRONG side of each fabric 3 1/2 x 6 1/2 rectangle. All 4 pieces should have interfacing attached.
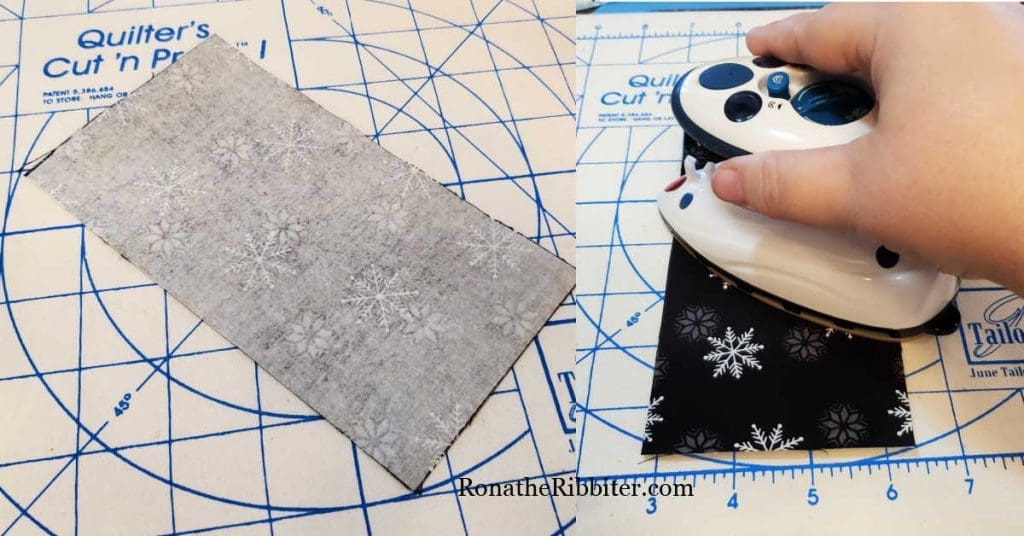
PRO TIP: To apply the interfacing, make sure the glue is facing the WRONG or back side of your fabric and your fabric is facing up on the pressing mat. Then, gently and in a constant motion, run your iron over the fabric. DO NOT PRESS. If you hold the iron in one place more than a second or so the interfacing will warp.
Then, simply peel off the paper from the interfacing.
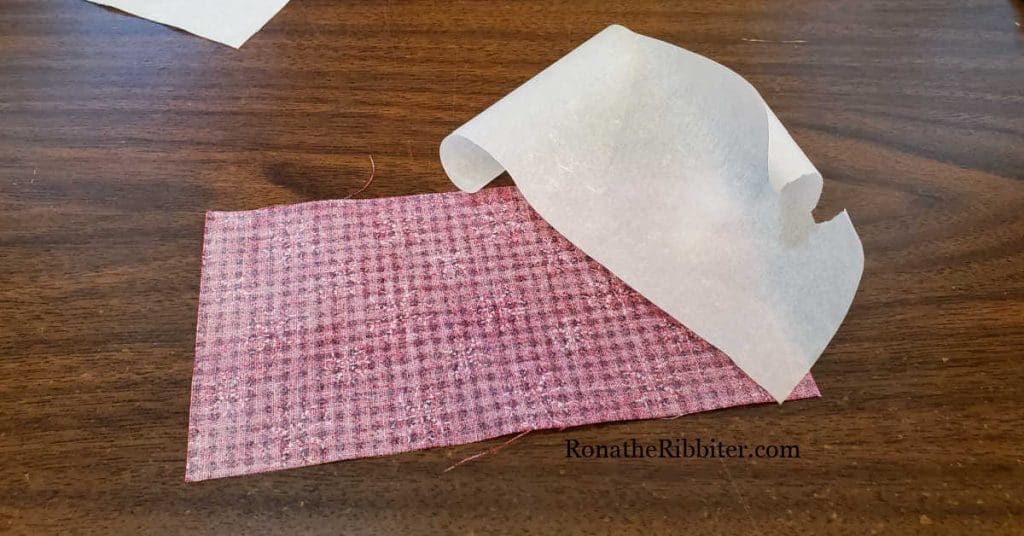
Once you have all the paper removed, you’ll need to decide which fabrics to place together. I wanted to the Black and Blue to show on one side and the Red and White to show on the other. Therefore, I fused together the White and Blue fabrics. Then I fused the Red and Black.
Once you’ve made your fabric decisions, fuse the fabric pieces together.
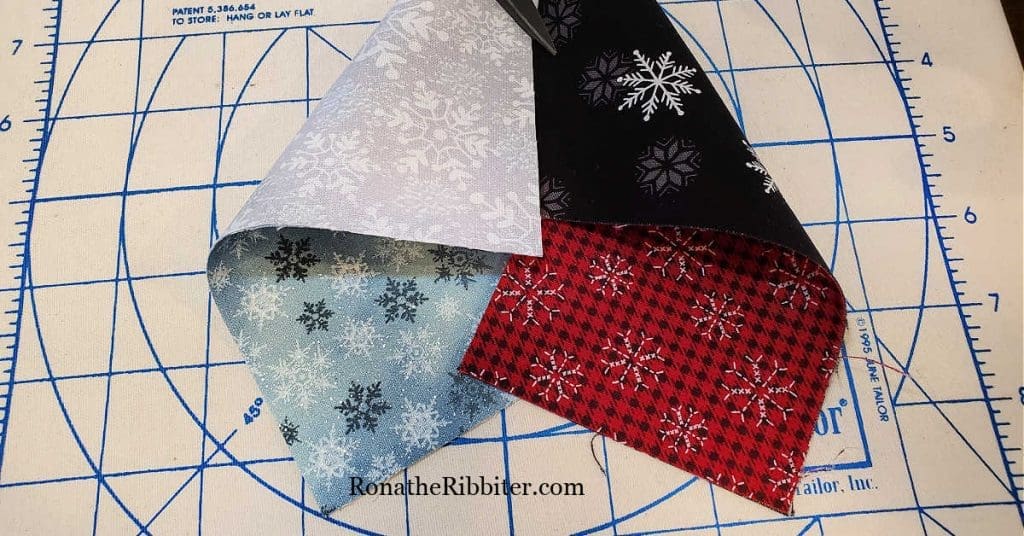
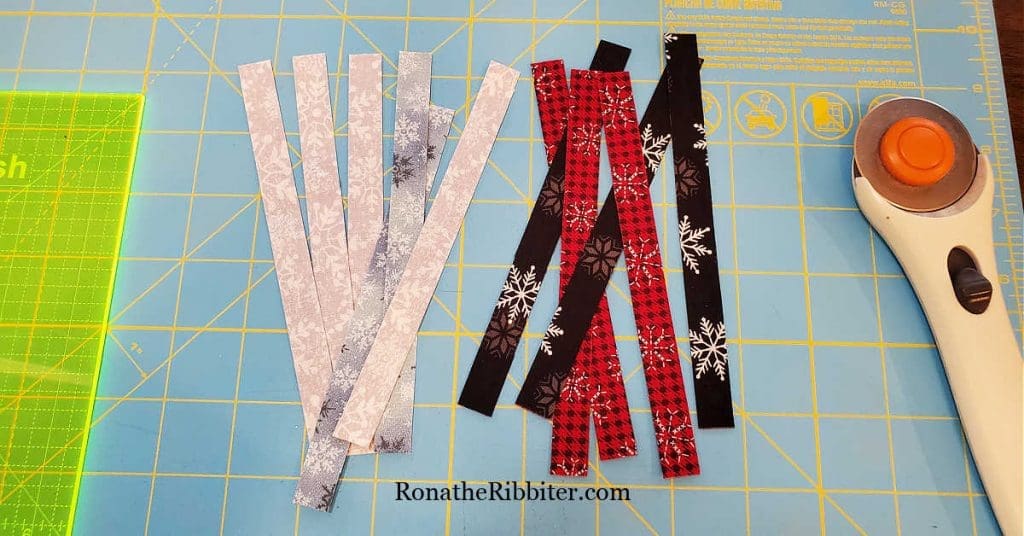
Finally, it’s time to trim. First, you’ll need to trim your pieces down to 3 x 6 inches rectangle.
Then, using your square ruler, rotary cutter and mat, trim your fabric pieces again into 6 x 1/2 inch strips. You should have a total of 12 strips when finished.
Let’s get gluing!
Another reason I love this Scandinavian Christmas Star ornament is that there is no actual sewing. Instead, we get to break out the glue gun! You get a dollup of glue! You get a dollup of glue! Everyone gets a dollup of glue!!!
Sorry… had an Oprah moment. I’m back now. lol
For these steps I like to use my cutting mat so that I can keep the pieces straight while gluing.
Begin with the 6 strips you’d like to use for side #1. I chose the Black and Blue. Place one Black strip and one Blue strip perpendicular on an even cross. You’ll notice there are 2 3/4 inches on all four sides.
Place a small drop of glue underneath the point where the strips overlap.
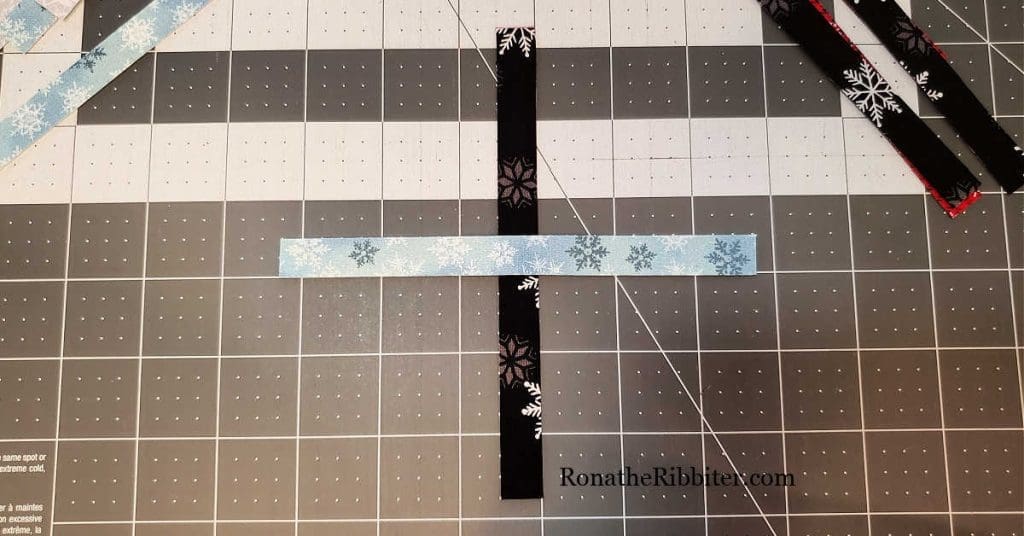
Line up two more strips with the Black facing up. Lay one on either side of the center strip leaving a slight bit in between as shown. Place another drop of glue under each Black side strip where they intersect with the Blue strip underneath.
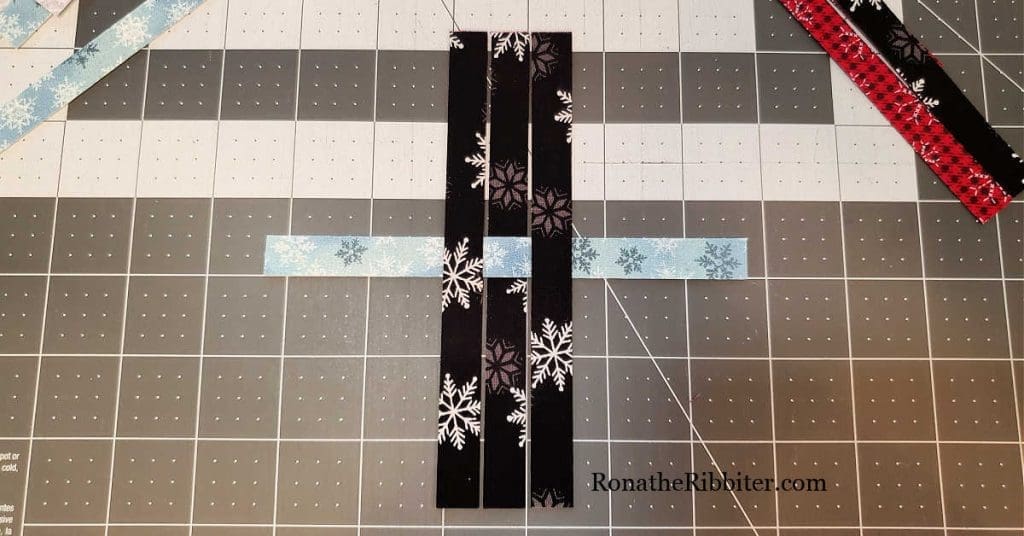
Next, line up two of the Blue side strips above and below the center Blue strip. This time, tuck each strip under the center Black strip as shown. Be sure to leave the same little bit of space between each strip.
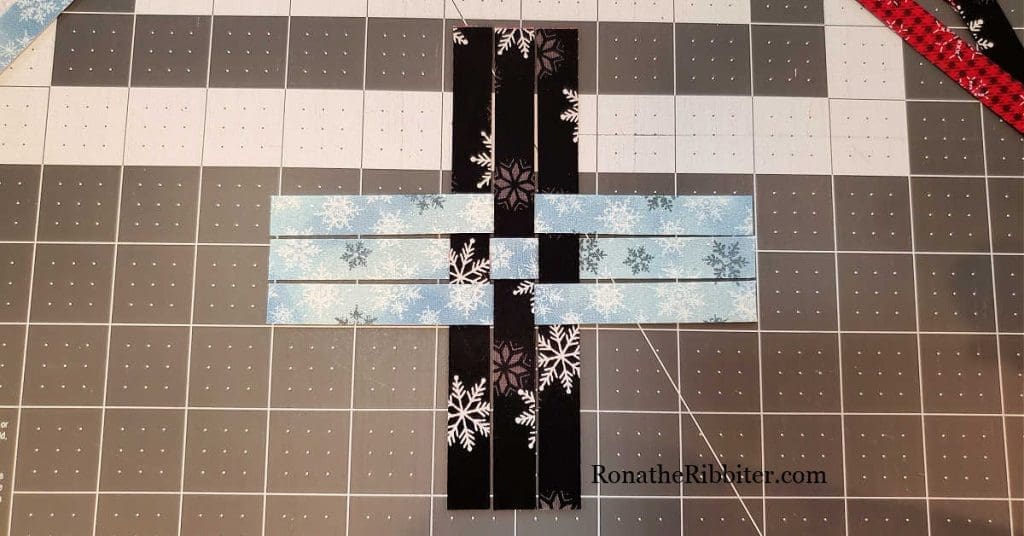
Carefully lift the side of the bottom Blue strip and place a drop of glue on the Black strip below where the two strips overlap.
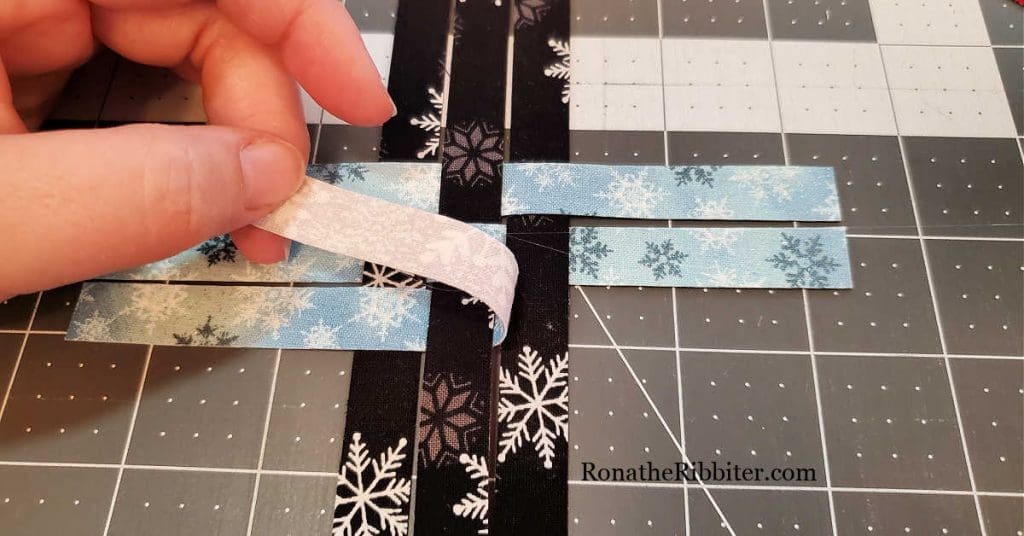
Repeat this step with all four intersections of the Blue and Black strips.
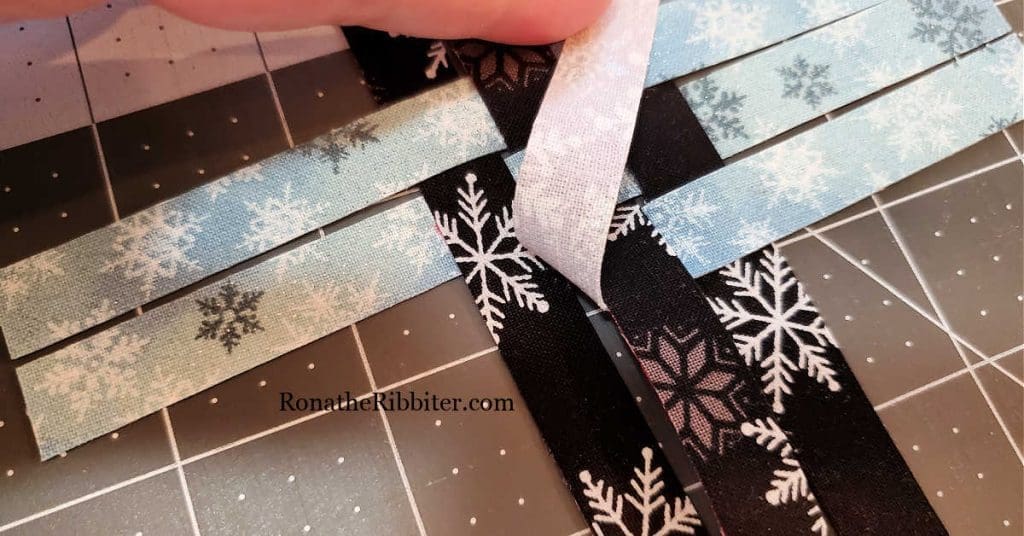
Now we get to add a little magic. 😀
Take one of the Black side strips and turn it inward so the Red (back) side shows.
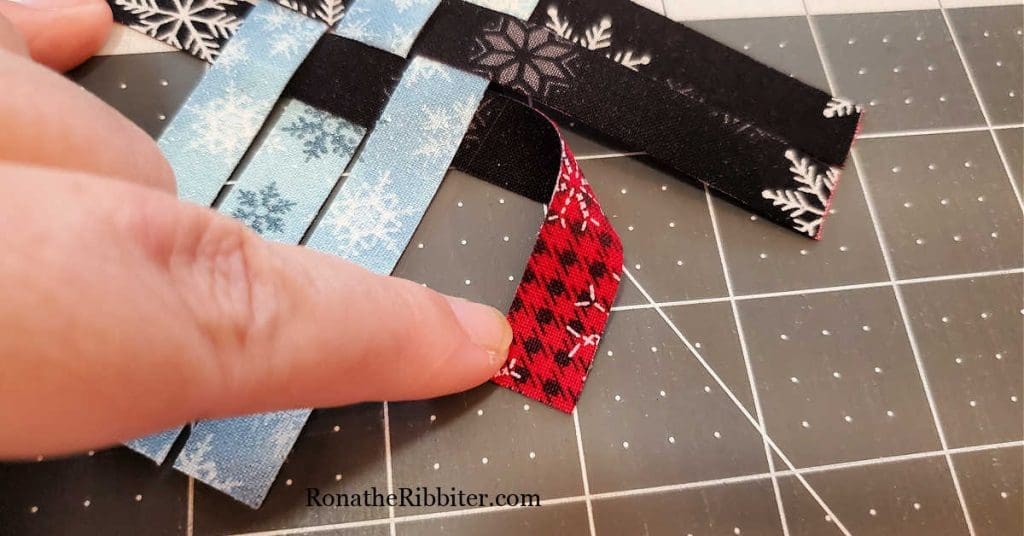
Lift the Blue side strip and turn inward so the White (back) side shows. Place a drop of glue on the tip of the Red strip end and lay the White strip end over top as shown.
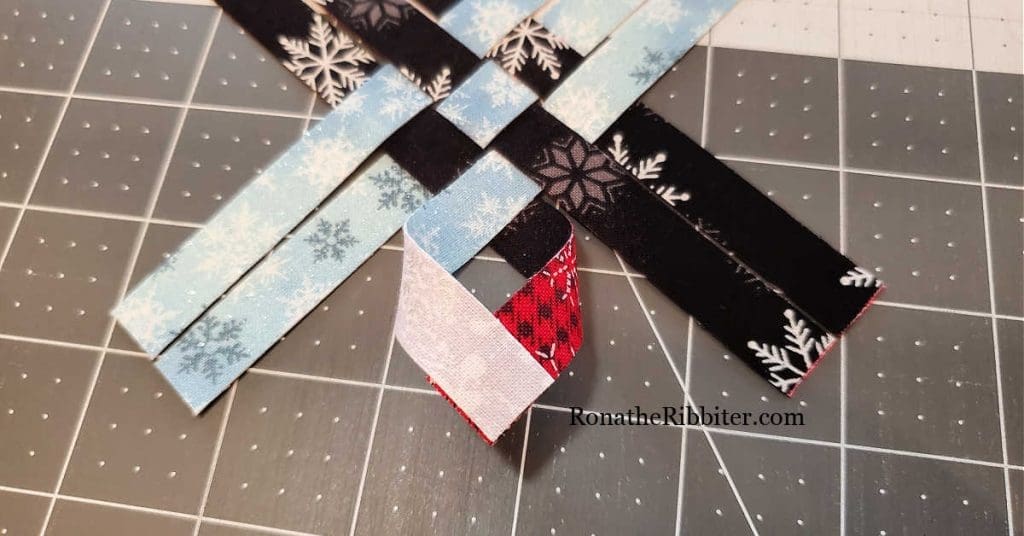
Repeat this step on all 4 corners.
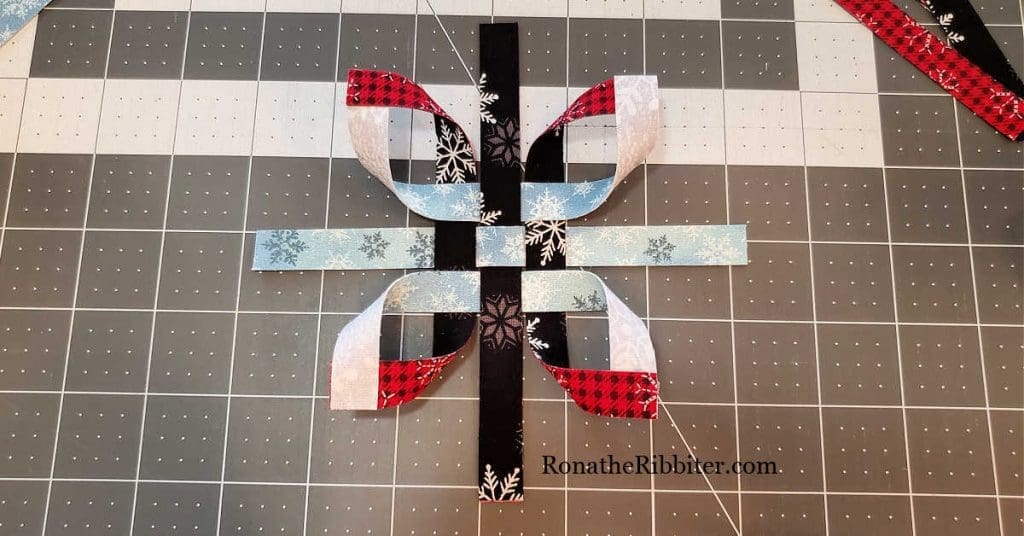
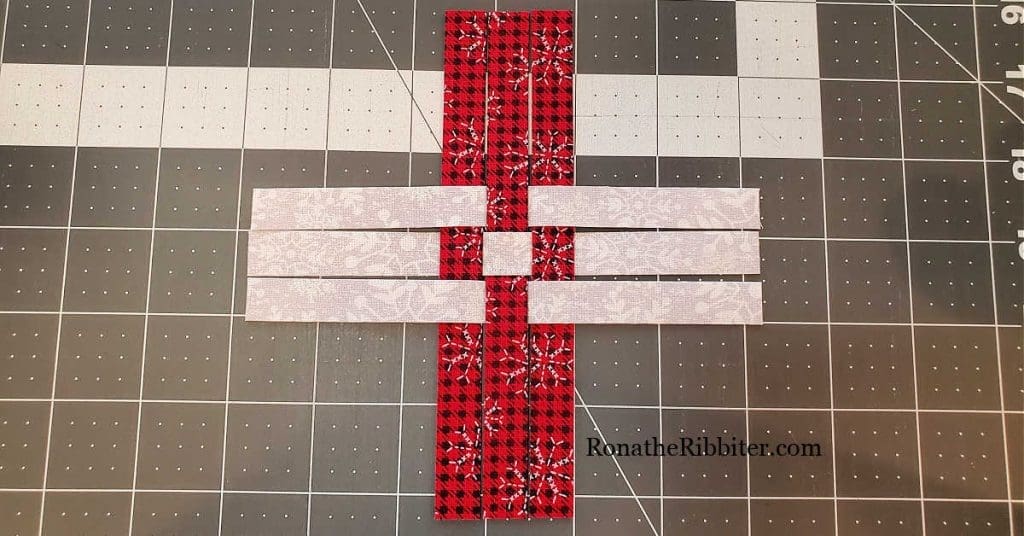
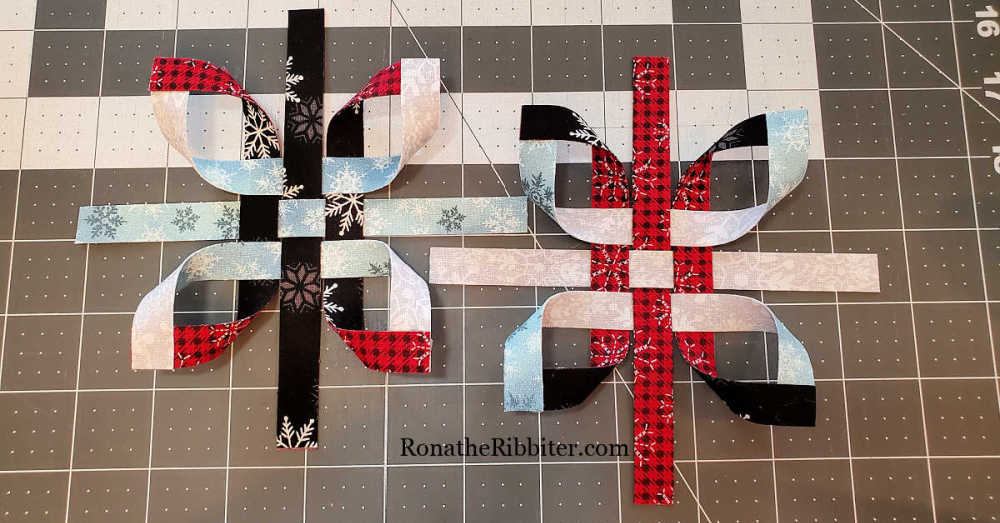
Next, repeat all of these steps with the remaining 6 strips to make a second half star. This time, use the other 2 fabrics facing up. I used the Red and White.
for more quilt patterns, click HERE to check out my entire collection!
-
 Quilted Keychain Pattern (PDF)$5.00
 -
 Water Crystals Quilt Pattern$12.00
 -
 Winter 3-in-1 Table Quilts Pattern$12.00
 -
 Stargazer Quilt Pattern$12.00
 -
 Stonehenge Quilt Pattern$14.00
Now for the good stuff!
It is definitely a lot easier to show you how to put the two star halves together rather than try to explain in pictures. So, I put together this little ‘how to’ video.
When placing your Scandinavian Christmas Star halves together, make sure that the opposite sides are facing each other. That way each side of the star will be a opposite as well. Then, push the single strip ends through a corresponding folded star point, as shown.
Next, you want to glue each open strip end to it’s corresponding folded point. I show you how to do this in another quick little ‘how to’ video.
MAKE SURE TO LEAVE ONE STAR POINT OPEN!
On the last open point you will glue the ribbon.
First, align the open strip where you are planning to glue it down. Trim the strip end to match the star point. Then place the ribbon ends in between the open strip and star point and glue in place. Watch the next quick video where I show you this step.
Once all of your strips and corresponding star points are glued (including the ribbon), use your scissors to trim off the remaining corners of each strip to match the star point.
And voila! You now have a beautiful Scandinavian Christmas Star ornament!

This Christmas I made a total of 12 of these fabulous Scandinavian Christmas Star ornaments. How many will you make?
Related Posts:
- More quilting Project Posts
- Ultimate Packing List for your next Road Trip
- Complete lists of Quilt Shops in the US
- How to Get that Travel Budget under control
Do you know someone who would love to make this Scandinavian Christmas Star ornament? Click the buttons below to share the list with your friends! Then be sure to share your ornaments with us in the Traveling Quilters group on Facebook!

More on the blog
more from the e-store
-
 Traveling Quilter BooksPrice range: $14.95 through $39.90
 -
 Life Happens, Quilting Helps Quilting T-Shirt UnisexOriginal price was: $25.00.$15.00Current price is: $15.00.
 -
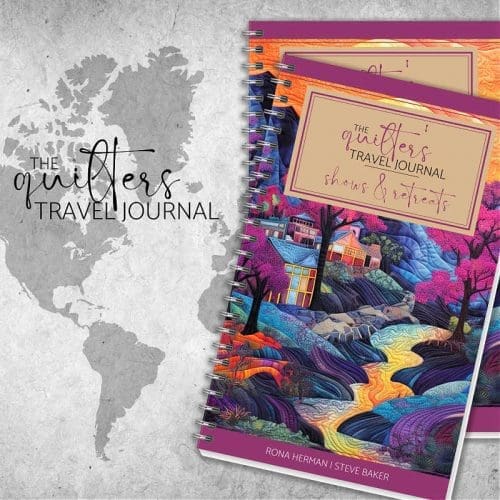
 Quilter’s Travel Journal – Shows and Retreats$19.95
 -
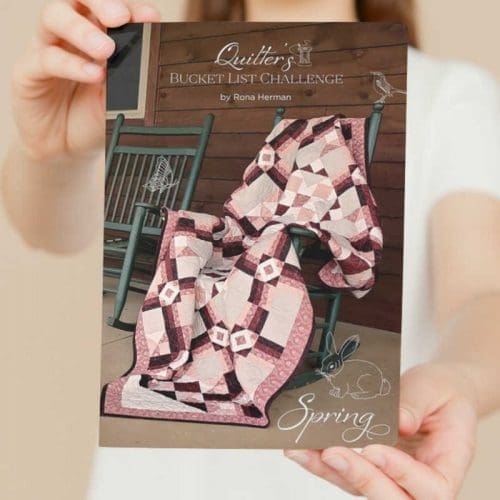
 Quilter’s Bucket List Challenge – Spring Workbook$9.95
 -
 Traveling Quilter T-shirt – Unisex$20.00
 -
 Quarter Inch Club Quilting T-Shirt UnisexOriginal price was: $25.00.$15.00Current price is: $15.00.
 -
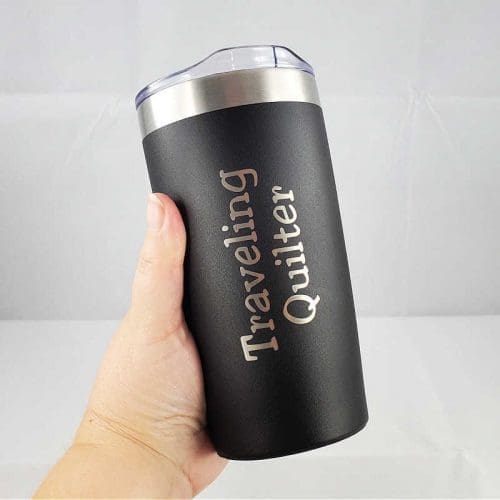
 Traveling Quilter 18 oz. Travel MugOriginal price was: $25.00.$15.00Current price is: $15.00.
 -
 Kiss My Stash Quilting T-Shirt – UnisexOriginal price was: $25.00.$15.00Current price is: $15.00.








Thank you for these instructions! I’m so excited to get started on some Scandinavian stars for next Christmas.
I also recognized your Oprah joke and even got a visual, lol(I remember that exact episode). Thanks for the giggle. I needed it.🙏😂