Tips for how to Make the Dallas Vintage Duffel Bag by Swoon Patterns
For the last year I have had this pattern for the Dallas Vintage Duffel Bag sitting in my stash just staring at me. Seriously, every time I’d dig into my pile of patterns looking for something there it was. Staring. With that look like ‘why haven’t you made me yet? I thought you liked me.’ Well, dear Duffel bag pattern, I DO like you and today is your day!
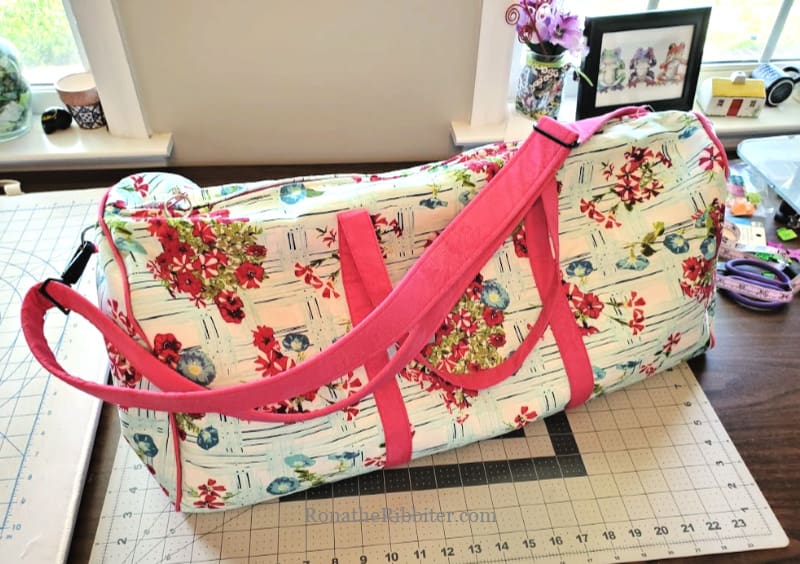
With the Nevada trip coming up and the world opening back up again I thought now is the perfect time to start the trip with a new bag. Truthfully, I can come up with any excuse to make a new bag but we’ll go with it.
I’ll be honest. This was the first duffel bag I’ve made. I’m more of a suitcase type person when it comes to my travel carriers but for some reason, this duffel bag pattern seemed like so much fun to make. It also helped that a friend was making the very same bag. Now we’re twinsies!
Overall, I would say the Dallas Vintage Duffel bag was definitely fun to make. The directions were super easy to follow as Swoon patterns usually are. There are a couple of Tips I thought I’d mention to help you when you get tired of the pattern staring back at you as well.
Supplies
Firstly, I did not have enough of the woven interfacing (Pellon Shapeflex) that the large size bag required. I only had about 3 yards instead of the required 6. So, I decided to use Pellon’s Fusible Featherweight Interfacing on everything but the main body pieces. It worked great with no issues at all. In fact, I think it may have added just a bit more sturdiness overall.
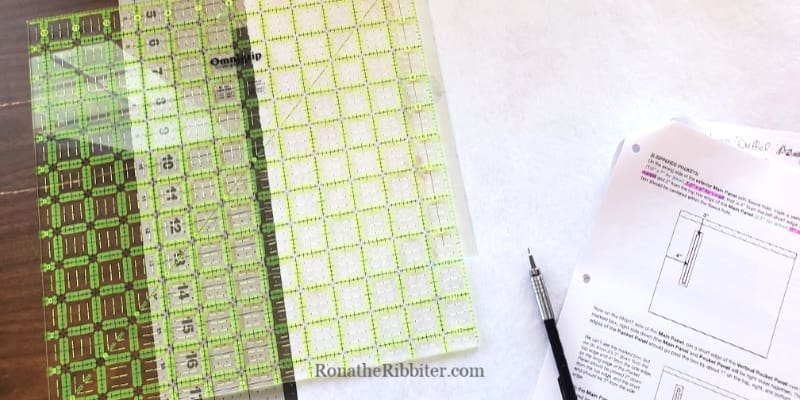
The pattern includes paper templates that you can print out (I downloaded the pattern) but I also found that my 12 ½ inch square ruler came in VERY handy. You can find them at most quilt shops as well as on Amazon.
Let’s Add Some Pockets
Making pockets can be kind of tricky. Especially the ones that are stitched to the Right side, then tucked into the back, as this pattern requires. I have a couple tips for making these pockets a little easier.
- When stitching the center box, backstitch at each corner to reinforce them.
- When turning your pocket inside, finger press the edges first before you use the iron. This way you can make sure that the seams are pressed fully to the back.
- Don’t be afraid to give those small side edges a little tug. You want to straighten out the inside pocket piece as much as possible.
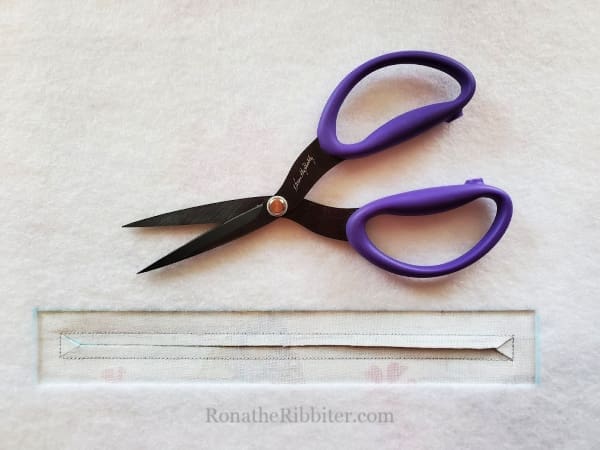
Tip: For snipping the inside of the stitched pocket box there are no better scissors than Karen Kay Buckley’s. I own them in every size!
Adding Some Straps
Another thing that can be tricky about making bags is the handles and straps. For the Dallas Vintage Duffel bag, I used the Fusible Featherweight interfacing and contrast fabric for the handles.
However, for long straps on larger bags I usually prefer to use webbing as it makes for a much sturdier strap. However, because I used my contrast fabric for the handles, I wanted my strap to match. So, I wrapped my contrast fabric around the webbing and stitched down each long side. It’s a pretty cool trick when you want the sturdy and the pretty.
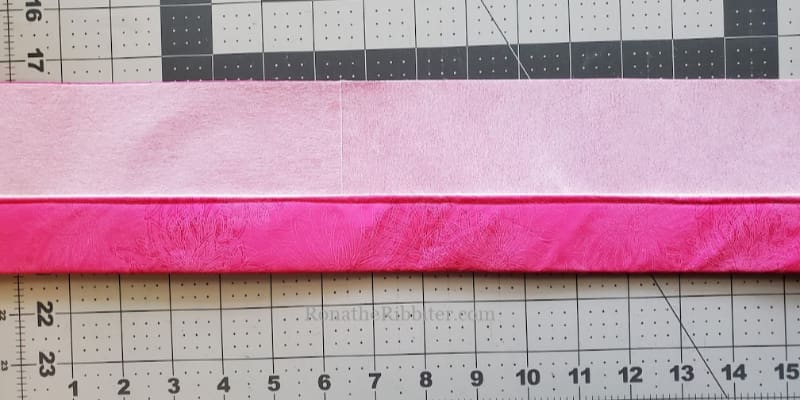
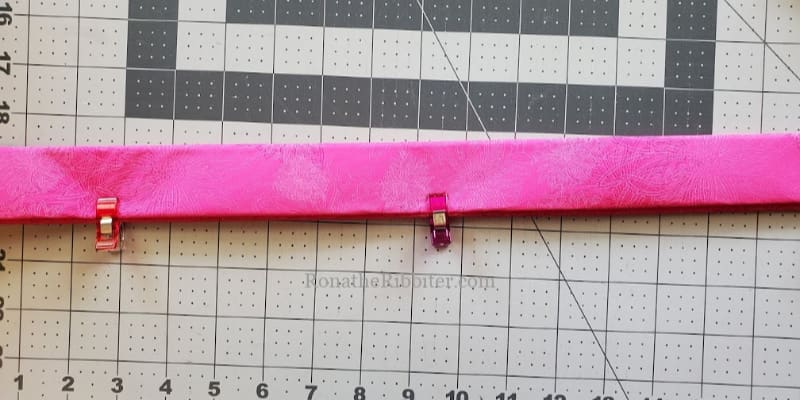
And the Piping…
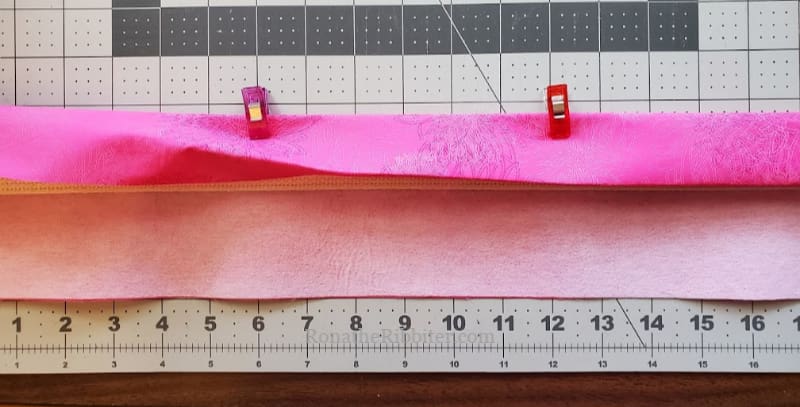
Lastly, the piping. Now, when you’re making cushions or fancy couch pillows, piping can sometimes be a little tricky to get the stitching nice and tight against the cording. However, this bag didn’t make it nearly as difficult. In fact, it was the easiest piping I’ve ever done.
When stitching around the raw edges of the piping and the bag ends, use a seam gauge as you go to make sure you are keeping the right seam allowance. Then, use your zipper foot with your needle set all the way to the edge. Just make sure you pay attention to your fingers. You don’t want to accidentally stitch through your finger! Ask me how I know. 😉
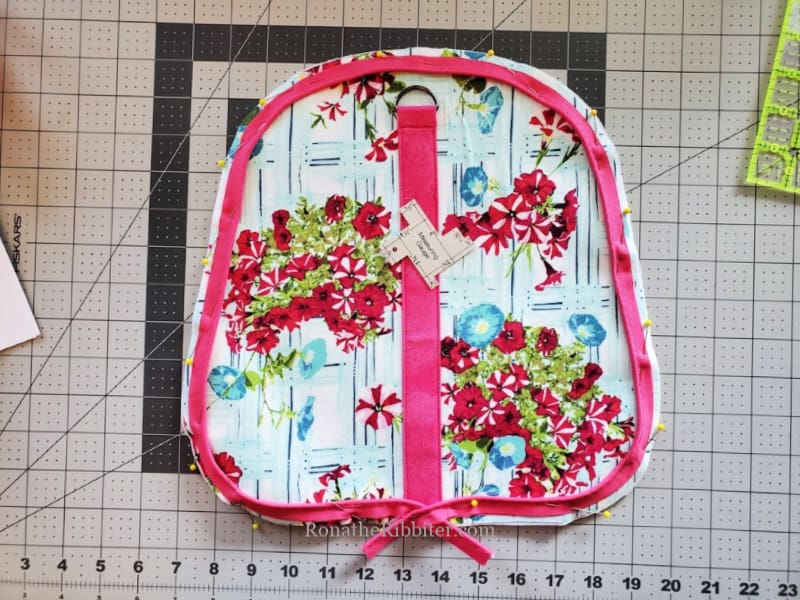
One more tip with the piping. Use a colored thread so that when you are doing the final assembly you can easily see where you stitched the piping down and can follow along the same stitch line.
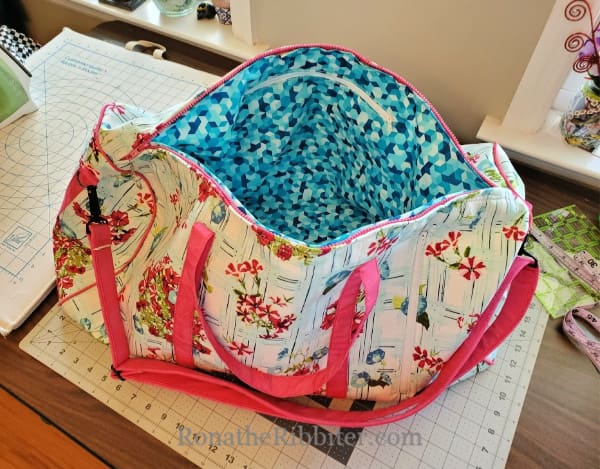
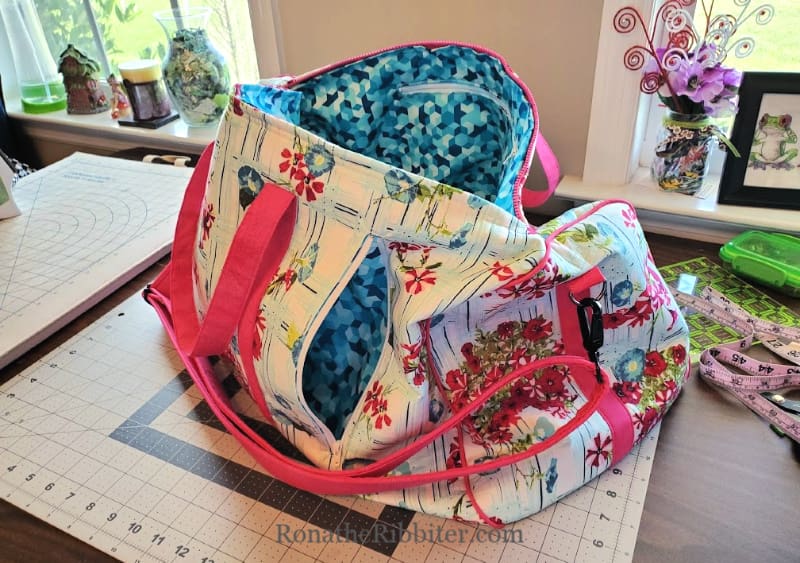
All in all, I definitely had fun with this project! Now, I can’t wait to use it on my trip next week and see how it handles on the airplane. I do have one question though that you might be able to help me with. What is this side pocket for? I’ve put in countless pockets that zip from the top. However, this one has me stumped. What do you think?
*This list contains various affiliate links. That means if you buy anything through these links I will receive a small percentage at absolutely NO extra cost to you. 🙂
RELATED POSTS:
- Complete List of Quilt Shows– Regularly updated!
- Can you complete the Big Quilter’s Bucket List?
- How to Turn a Quilt Show Trip into a Grand Adventure!
- My Best Tips for Attending a Quilt Show!
- Complete Lists of Quilt Shops in the US!
- Like Museums? Check out the entire list of Quilt and Textile Museums around the World!
Do you know someone who’d love the Duffel Bag? Click the buttons below to share with your friends! Then be sure to join us in the Traveling Quilters group on Facebook for more travel adventures!
more project posts
Books, Patterns, Shirts, Mugs and more!
-
 Traveling Quilter BooksPrice range: $14.95 through $39.90
 -
 Quilted Keychain Pattern (PDF)$5.00
 -
 Life Happens, Quilting Helps Quilting T-Shirt UnisexOriginal price was: $25.00.$15.00Current price is: $15.00.
 -
 Quilter’s Travel Journal – Shows and Retreats$19.95





Hi! Tried to leave a comment on your clean your studio post but it’s turned off. Sorry I’m late to the party. Thanks for the tour and the tips!
Thank you for letting me know about comments section. They should all be turned on so I’ll take a look. I’m so glad you liked the post! Better late than never right? Everyone gave some pretty great tips in the ‘party’!
Concerning the pocket on your duffel bag:
The outside slit pocket is for easy access to your passport. I have a small cross-body purse that has a “hidden pocket” on the back that is very similar to yours. It had a card in it that suggested use for a passport, ticket, or an extra stash of cash when traveling abroad.
Oh goodness, that makes perfect sense. Thanks for the suggestion Kathy!