Including Pin Basting, Squaring up and Binding your quilt!

One of the most often asked questions I’ve received from new quilters is how to finish their quilt. Let’s be honest. Most quilt patterns (mine included) only give you instructions on how to complete your quilt top. But they fall short just before the finish line.
That’s where my friends over at Free Needle come in. They’ve shared these great tips to help get you started with finishing your quilt. Plus a few added little extra tidbits from me. 🙂 Take it away guys…
How to Finish a Quilt
While you might have completed the bulk of the quilt, it won’t be fully finished yet. There are still the edges and batting to consider. Let’s look at how to deal with these elements so you can finish your quilt in style.
Adding Batting
The first thing you need to do is add the batting and the backing fabric. This will be fairly easy to do. First, you will need to lay the backing fabric out, right side down. Spread it out so it lies flat. It can help if you tape it down, so it won’t move and get wrinkled.

Next, you’ll need to add the batting. There are multiple types of batting that you can use. This article breaks down these options. Once you have the batting, lay it flat against the backing sheet. Then, you will need to lay the top of the quilt on top, right side up. Next, pin the two together. You’ll need to use a lot of pins to do this. It’s best to use one every five inches.
The Actual Quilting Process
Now, you will be able to sew the batting, backing layer, and quilt together (Also known as the ‘quilt sandwich’). This can be a difficult task. There will be lots of pins and the batting might move around a little. Because of this, you’ll need to go slower. It also helps if you get a heavy-duty quilting sewing machine. This will allow you to get through the layers of fabric and batting with ease. This list of sewing machines for quilting will give you a better idea of what you should be looking for.
Pro Tip: There are MANY different ways to quilt your sandwich. As a beginner, I highly recommend practicing on a few scrap pieces made into a little sandwich. That way you can practice maneuvering the sandwich under your needle. ALSO, the easiest quilting technique to start with is straight lines and ‘stitch in the ditch’.
Ribbit
Once you have done this, you’ll need to trim back the batting. This will allow you to get ready for the next step in the process, binding the quilt.
Pro Tip: When trimming your finished quilt, you’ll want to make sure to ‘square’ it up. I use a large 12 x 12 inch square ruler to trim each corner to make sure they are truly squared. Then, I use my 6 x 24 ruler to continue trimming the length of the edges.
Ribbit
Binding the Quilt

Once you have finished batting and quilting the sandwich, you’ll need to add the edges. This is known as binding. There are a few ways that you can cut the fabric to do this. Cutting across the width (top to bottom) is best for beginners. Though, if you are making a rounded quilt, you will need to cut across the diagonal. (Also known as ‘on the bias’)
In most cases, you will need to have a quarter-inch seam on each side. Don’t forget to give yourself a little excess, in case you make a mistake. In general, you’ll need between half to five-eighths of a yard of fabric to bind your quilt.

Once you have cut your strips, it’s time to start sewing them together. In this case, you will need to start by joining all the strips together. You’ll need to make a right-angle by laying the two strips on top of each other. Then, sew along the middle and cut off the excess. Then, press the seam.
Next, you’ll need to pin the raw edge of your strip to the edge of your quilt. You’ll now be able to sew a quarter-inch seam. When you reach a corner, you’ll need to move the seam upwards, until it is at a diagonal. Then, pin it in place and lay it back down. This should form a square corner. Repeat this process until the seams are joined. Next, you’ll need to flip the seam over and sew it onto the back of the quilt. Though this can sound a little confusing, the process is actually very simple. This excellent video will walk you through it.
-
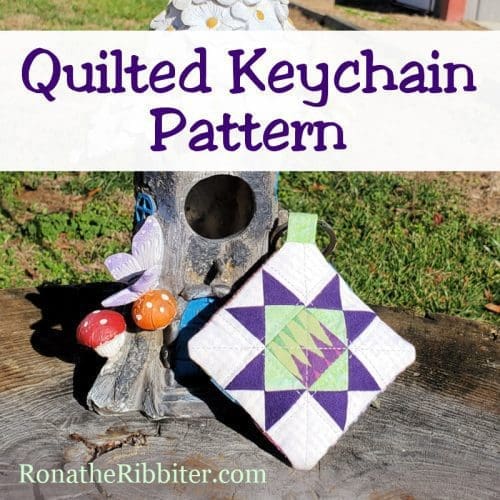
 Quilted Keychain Pattern (PDF)$5.00
 -
Water Crystals Quilt Pattern$12.00
-
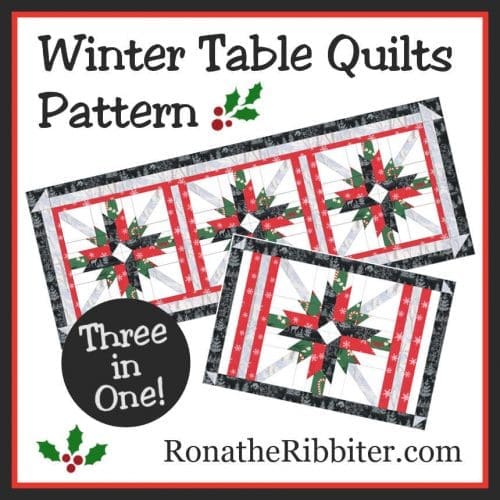
Winter 3-in-1 Table Quilts Pattern$12.00
-
Stargazer Quilt Pattern$12.00
-
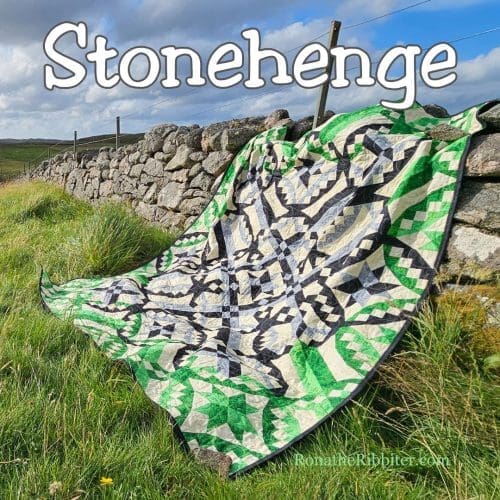
Stonehenge Quilt Pattern$14.00


More Advanced Ways of Finishing a Quilt
While these are the basic ways of finishing a quilt, there are a few more advanced options that you might want to explore. For example, if you are making a Christmas quilt, you might want to use a two-toned approach. If you use one light and one dark thread it will give it the appearance of candy cane stripes. You can enhance this visual by making these threads red and green.
You can also use two-color binding. In this case, you will have one color on the front of the quilt and a different color on the back.
Conclusion
Finishing a quilt is often one of the most difficult parts for a beginner to master. But, as long as you know a few basic techniques, it won’t be too hard. Hopefully, these steps will have clarified the process for you.
Thanks so much to Free Needle for this great article on getting started with Finishing a Quilt. I hope you found it useful!
Want more quilting tips and inspiration? Click HERE to check out more of my Project Posts!
RELATED POSTS:
- Take the Quilters Bucket List Challenge!
- Safety Tips when you’re on the Road
- Why Quilters Should Stay in an AirBnB
- The Best Travel Bag for your next trip!
- Complete Lists of Quilt Shops around the US
Do you know someone who could use these Quilt Finishing tips? Click the buttons below to share the list with your friends! Then be sure to join us in the Traveling Quilters group on Facebook for more travel adventures!
more on the blog


SHOP FOR BOOKS, PATTERNS, SHIRTS, MUGS AND MORE!
-
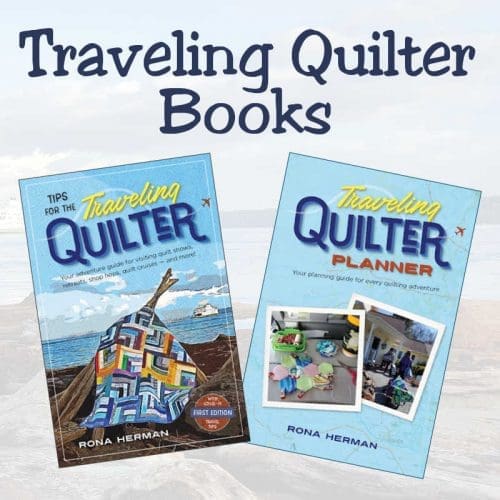
Traveling Quilter BooksPrice range: $14.95 through $39.90
-
Quilter’s Travel Journal – Shows and Retreats$19.95
-
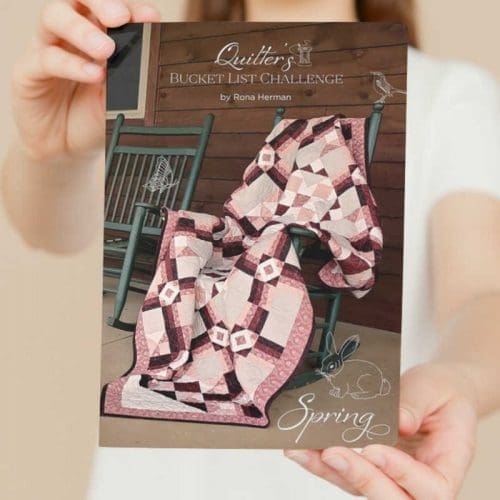
Quilter’s Bucket List Challenge – Spring Workbook$9.95
-
Traveling Quilter T-shirt – Unisex$20.00
-
Missouri Star Quilt Retreat$800.00
-
Traveling Quilter 18 oz. Travel MugOriginal price was: $25.00.$15.00Current price is: $15.00.
-
Traveling Quilter Collector PinPrice range: $9.00 through $25.00
-
Quilter’s Postcards$9.00


Leave a Reply