Ireland, Shamrock and a Leprechaun. What can go wrong?

When I signed up for the scrap busting block hop all I could think about was St. Patrick’s Day. And more importantly, a St. Patrick’s Day Quilt! But, what Irish quilt block should I use?
Thinking about Saint Patrick’s Day, three things generally come to mind: Ireland, Shamrocks and the Leprechaun’s hat. So I thought, why not put all three into a Scrappy Irish quilt block!?
are leprechauns truly irish?
A quick fun fact about leprechauns. The cute little mischievous, red headed man adorned in green and carrying a pot of gold as we know him today… is not entirely Irish.
Looking to Irish folklore, the leprechaun is actually a fairy. According to this website:
Most Leprechaun legends can be traced back to the 8th century tales of water spirits which were known as ‘luchorpán’ which means ‘small body’. It is said that these spirits merged with a household fairy and developed a penchant for heavy drinking so no cellar was safe! According to other researchers, the term Leprechaun actually comes from the Irish term ‘leath brogan’ which means shoemaker.

And, according to the Encyclopedia Britannica, the Irish leprechaun was traditionally depicted wearing a “cocked hat and leather apron” as he made shoes and brogues. If captured, the tiny man would trick you into looking away so he may vanish with his crock (pot) of gold.
However, the leprechaun that we know today is more a creation based on ancient lore combined with tons of American influence through movies, television and advertising. I mean honestly, Lucky Charms cereal?
So you might say, the leprechauns of today are much more American than truly Irish.
Scrappy Irish Quilt Block
I love Ireland. I love just about all things Irish. So, I wanted to incorporate as much of Ireland as I could into this fun quilt block.

I will mention this Irish quilt block does use a form of applique. But, even if you’ve never made an applique quilt, you should still be able to make this block. So, let’s get started!
Your finished Irish quilt block will be approximately 6 1/2 x 6 1/2 inches square.
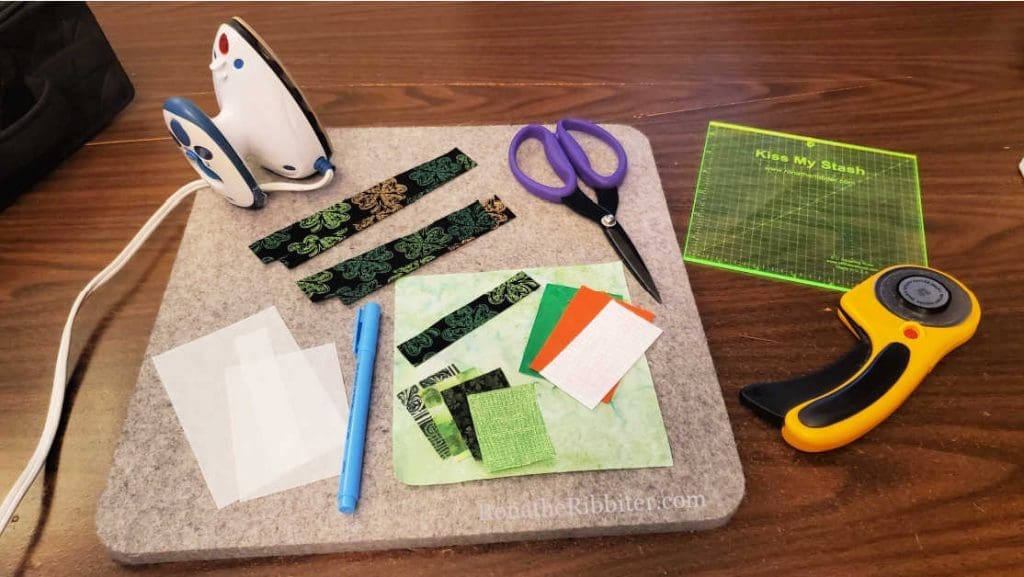
Here’s what you’ll need to make your block.
Materials Required:
For my Irish quilt block, I dug into my scrap stash. As you can see, you don’t need much. 🙂
| Applique Templates – Click HERE to download and print | ||
| Water Soluble Erasable fabric pen and/or chalk pencil | ||
| Sharp Fabric Scissors | ||
| Iron – a Craft Iron works the best | ||
| Fray Check (optional) | ||
| Background Fabric | One | 6 x 6 |
| Border Fabric | Two | 1 x 5 1/2 |
| Two | 1 x 6 1/2 | |
| Hat Body (various scraps) | Four | 1 1/2 x 2 |
| Hat Brim | One | 3/4 x 4 |
| Solid Green | One | 2 x 3 |
| Solid White | One | 1 1/2 x 3 |
| Solid Orange | One | 2 x 3 |
| Double Sided Fusible Interfacing | One | 4 1/2 x 3 |
| One | 2 1/2 x 3 1/2 | |
| One | 3/4 x 4 |
*Disclosure: Please note that some of the links above may be affiliate links. When you click and purchase an item I earn a commission at NO additional cost to you. All the money raised helps to keep this blog up and running.
Making the Shamrock
Place your green and white fabrics Right Sides Together (RST), lining up the 3 inch sides. Stitch and press seam open.
Line up your orange fabric with the open 3 inch edge of the white fabric. Stitch and press seam open. You should now have a piece that looks like the Irish flag:
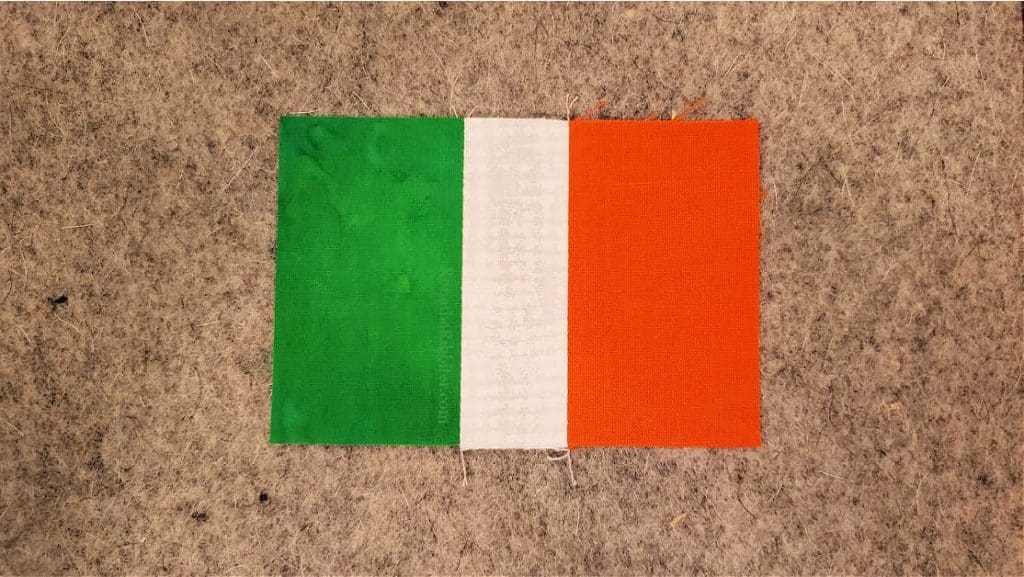
Using the instructions on the package, place the 4 1/2 x 3 inch double sided fusible interfacing to the WRONG side of your Irish flag unit. Press to fuse them together.
Be sure to press from the RIGHT side of the fabric so the interfacing does not warp.
Place your Shamrock template over top of the Irish flag unit. You want to try and center the template so that the white strip is in the center. Trace the shamrock onto your fabric using an erasable fabric pen and/or chalk pencil.
-
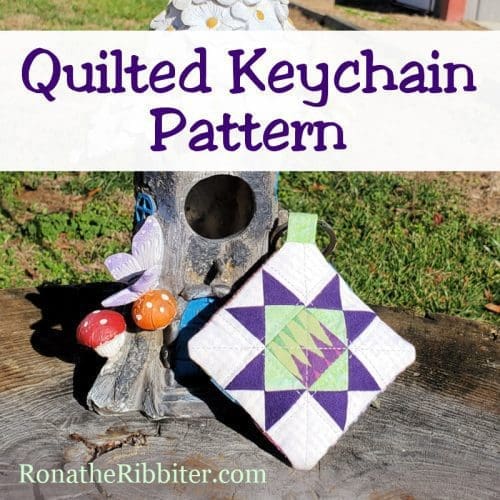
 Quilted Keychain Pattern (PDF)$5.00
 -
 Water Crystals Quilt Pattern$12.00
 -
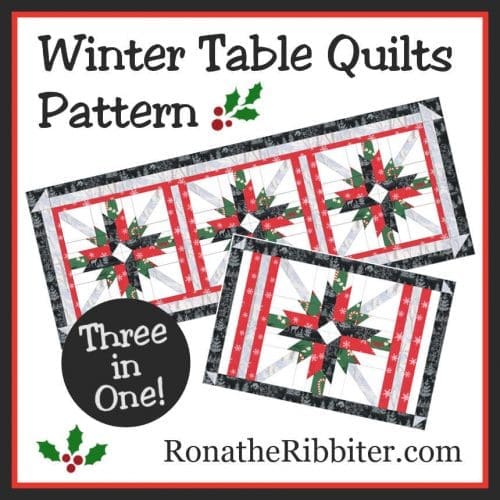
 Winter 3-in-1 Table Quilts Pattern$12.00
 -
 Stargazer Quilt Pattern$12.00
 -
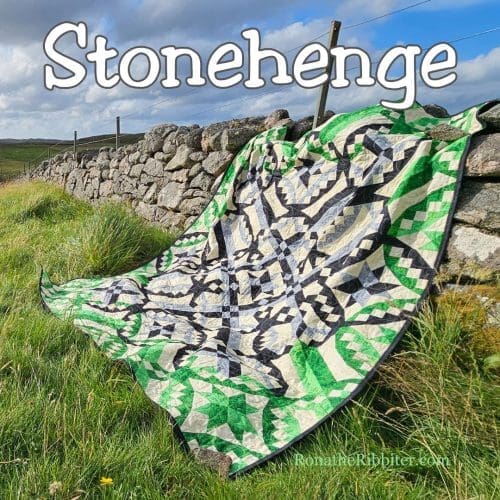
 Stonehenge Quilt Pattern$14.00
Making the Hat pieces
To make your hat, you will need all four of the 1 1/2 x 2 squares and the 3/4 x 4 inch strip and double sided fusible interfacing.
Using the instructions on the package, place the 3/4 x 4 inch interfacing onto the WRONG side of the 3/4 x 4 inch strip and press. Set aside.
For the rest of your hat, place two of your 1 1/2 x 2 inch scrappy squares RST by lining up the 1 1/2 inch sides. Stitch and press seam open.
Repeat this step with your remaining two 1 1/2 x 2 inch scrappy squares.
Place the two units RST and stitch down the long side. Press seam open.
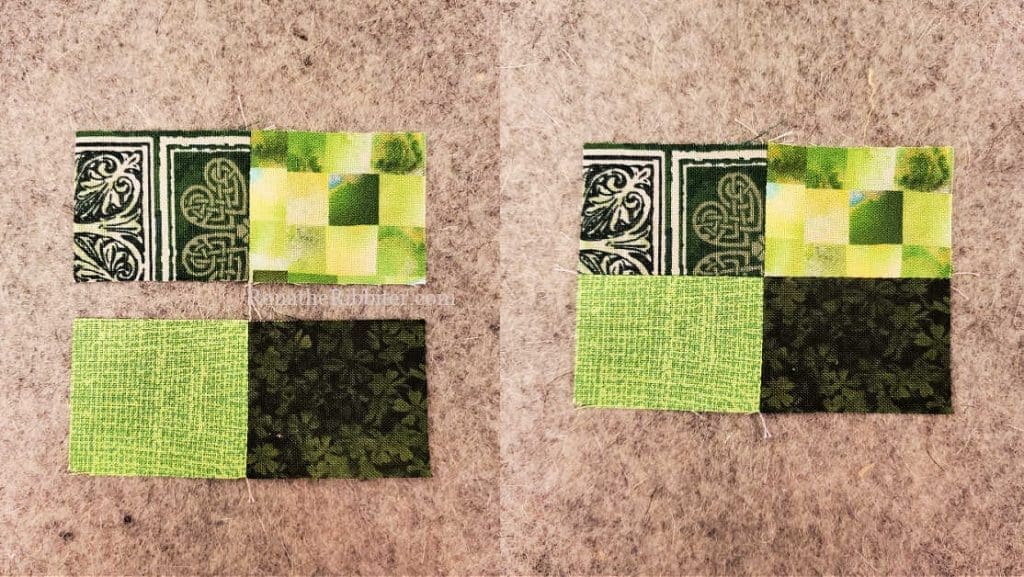
Place the 2 1/2 x 3 1/2 inch double sided fusible interfacing square against the WRONG side of your hat body unit and fuse in place.
Cut the template pieces
Using this template, cut out the Shamrock, Hat Brim and Hat Body template pieces.
Cut out your shamrock and set aside. If there are any marks left on your cut out shamrock, don’t worry. If you used a water soluble fabric pen, those marks will come out with a damp cloth and the chalk should rub away.
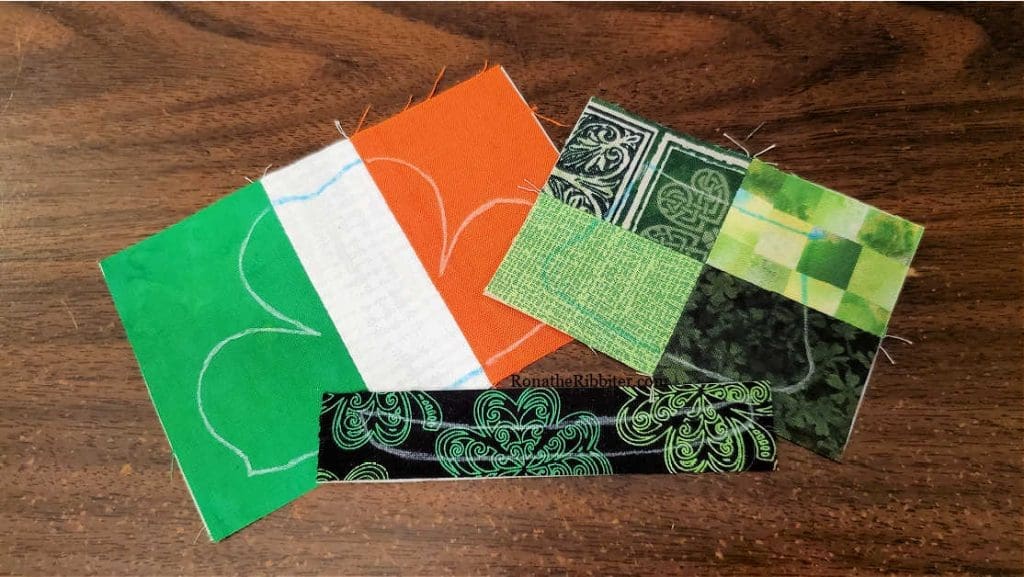
Using the Hat Brim template piece, trace the template onto your 3/4 x 4 inch strip and cut out the hat brim. Set aside.
Center the Hat Body template over your 4-square unit and trace. Cut out the hat body.
Applique it all down
Remove the paper backings from all of your cut out pieces.

Lay out your 6 x 6 inch background fabric square and center your pieces. Shamrock on top of the Hat Body. Then lay the Hat Brim across the middle. When you have the pieces centered as you like them. Press them with an iron to fuse it all in place.
As these are ‘raw edge’ applique pieces, you have a choice in how to stitch them down.
If you want a bit of a frayed look, you can do a straight stitch approximately 1/8 inch from the edge of each piece.
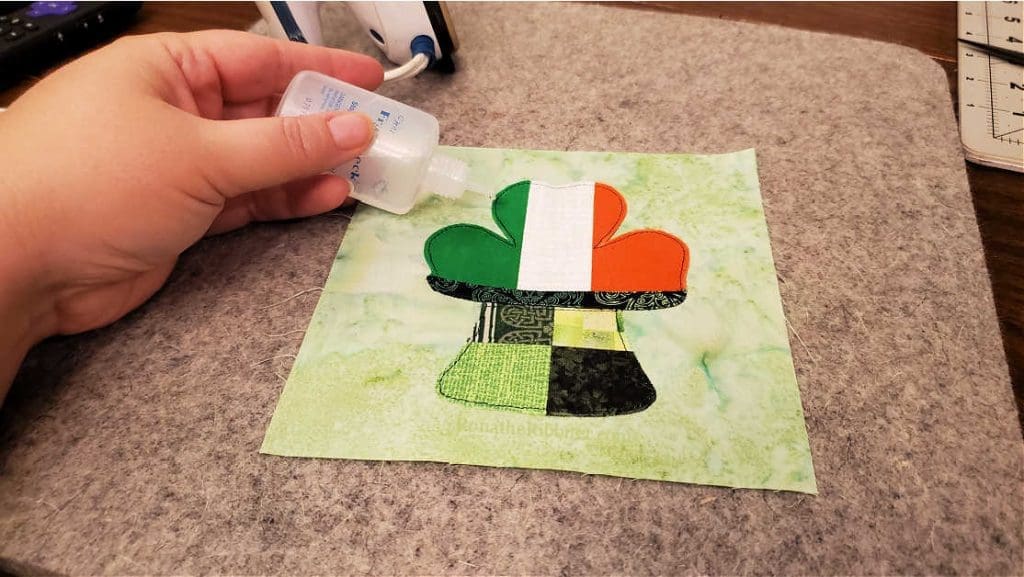
If you want a cleaner look, you can try a small zig zag around the piece edges.
Or, you can try something all your own!
Once all your pieces are stitched in place, trim your block to 5 1/2 x 5 1/2 square using square ruler.
-
 Traveling Quilter 18 oz. Travel MugOriginal price was: $25.00.$15.00Current price is: $15.00.
 -
 Got Fabric? Collector PinPrice range: $9.00 through $25.00
 -
 Traveling Quilter Collector PinPrice range: $9.00 through $25.00
 -
 Seam Ripper Blues Collector PinPrice range: $9.00 through $25.00
 -
 Kiss My Stash Collector PinPrice range: $9.00 through $25.00
Finish Your Irish Quilt Block
Now for the final touch. Just like adding borders to your quilt tops, we start with the sides.
Place one 1 x 5 1/2 inch strip along the left side of your block, RST. Stitch and press seam open.
Place the second 1 x 5 1/2 inch strip along the right side of your block, RST. Stitch and press seam open.
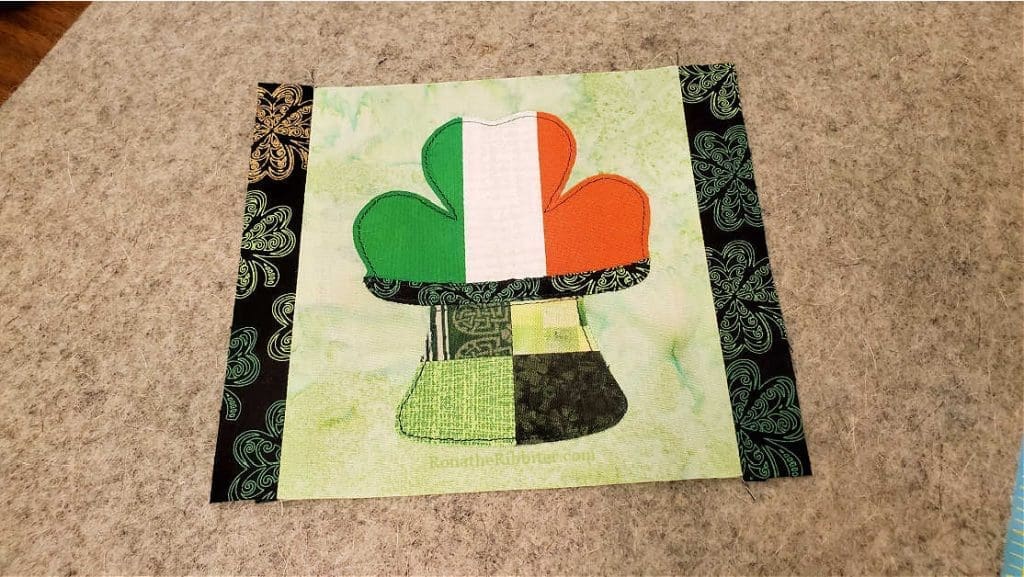
Repeat these steps with both 1 x 6 1/2 inch strips stitched to the top and bottom of your Irish quilt block. Press both seams open.
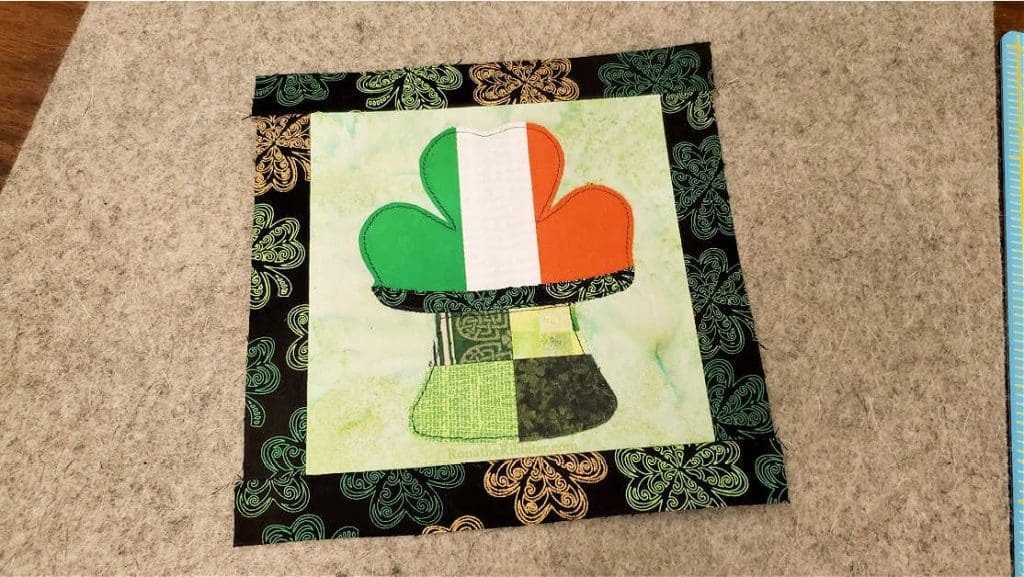
And that’s it. You’re done! How’d your Irish quilt block turn out? Did you make a finished project with your block? Let me know in the comments!
Click HERE to get the rest of the blocks on the Scrappy block hop tour!
What to do with your irish quilt block
Now that you have your fun little Irish quilt block, what to make with it? Of course, the first suggestions is to put it in a St. Patrick’s Day quilt! But there are other possibilities too!
The 6 inch size block works perfectly with this Little Zipper Bag Pattern!
Also, the center squares in the Queen size African Violet Quilt pattern is 6 inches!! How great would this pattern be in greens and Irish fabrics!?
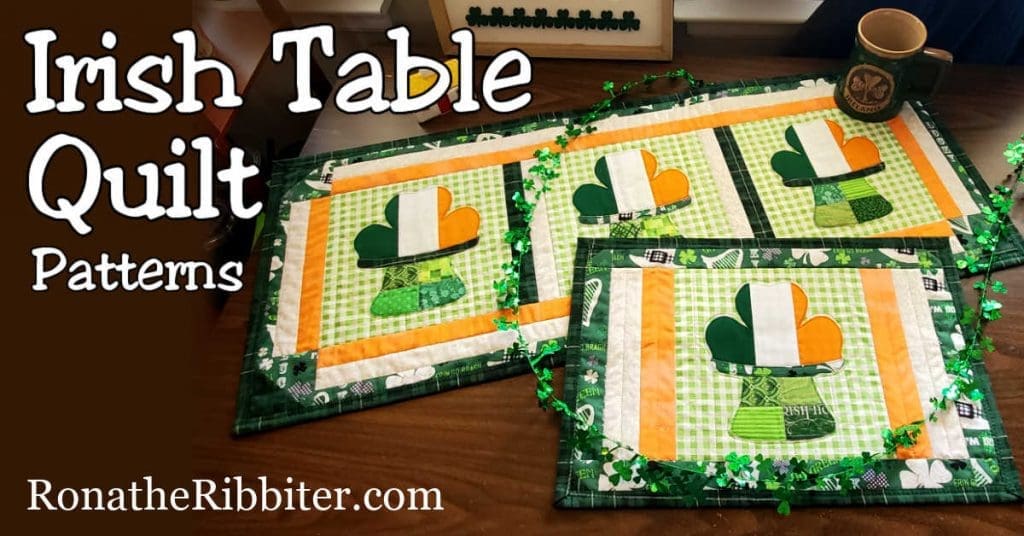
Want a little bigger Irish Quilt Block and some fun St. Patrick’s Day decor!? Click HERE to Grab a copy of these Irish Table Quilts = THREE patterns in ONE!!
RELATED POSTS:
- More Quilt Project Posts
- Take the big Quilter’s Bucket List Challenge!
- Want to visit a Quilt Show? Check out the entire Quilt Show list HERE!
- Complete lists of Quilt Shops in the US
- Planning a Shop Hop Road Trip? Start HERE!
Do you know someone who would love to make this scrappy Irish quilt block? Click the buttons below to share the list with your friends! Then be sure to share your blocks with us in the Traveling Quilters group on Facebook!
IS your guild or quilt shop looking for speakers? I’m your girl! Click HERE to learn more!

More from the blog
More from the e-store!
-
 Traveling Quilter BooksPrice range: $14.95 through $39.90
 -
 Life Happens, Quilting Helps Quilting T-Shirt UnisexOriginal price was: $25.00.$15.00Current price is: $15.00.
 -
 Quilter’s Travel Journal – Shows and Retreats$19.95
 -
 Quilter’s Bucket List Challenge – Spring Workbook$9.95
 -
 Traveling Quilter T-shirt – Unisex$20.00
 -
 Missouri Star Quilt Retreat$200.00
 -
 Quarter Inch Club Quilting T-Shirt UnisexOriginal price was: $25.00.$15.00Current price is: $15.00.
 -
 Traveling Quilter 18 oz. Travel MugOriginal price was: $25.00.$15.00Current price is: $15.00.








Leave a Reply