It’s That Time of Year Again!
When traveling takes up so much of your time, like mine, things like cleaning and organizing your studio just seem to fall by the wayside. But, since we’re all at home anyway, now’s as good a time as any to ‘get ‘er done’!
Not too long ago, I signed up to participate in the Spring Clean Your Studio challenge. The results even surprised me!
I hate cleaning. There. I’ve said it. Honestly, I am my father’s daughter. We live in a world of “organized chaos”. Sure, there are piles of things everywhere BUT, I know exactly what is in every single pile. Well, that’s what I tell myself. But, let’s be real, shall we? ‘Out of sight, out of mind’ is a real thing.
My mother used to always say, “Everything has a home.” Even inanimate objects like papers and boxes and pretty, pretty fabric that calls us to touch and play. Yes, even the fabric should have a ‘home.’ Plus, when everything is in it’s home, it’s easier to find.
How to organize your studio desk

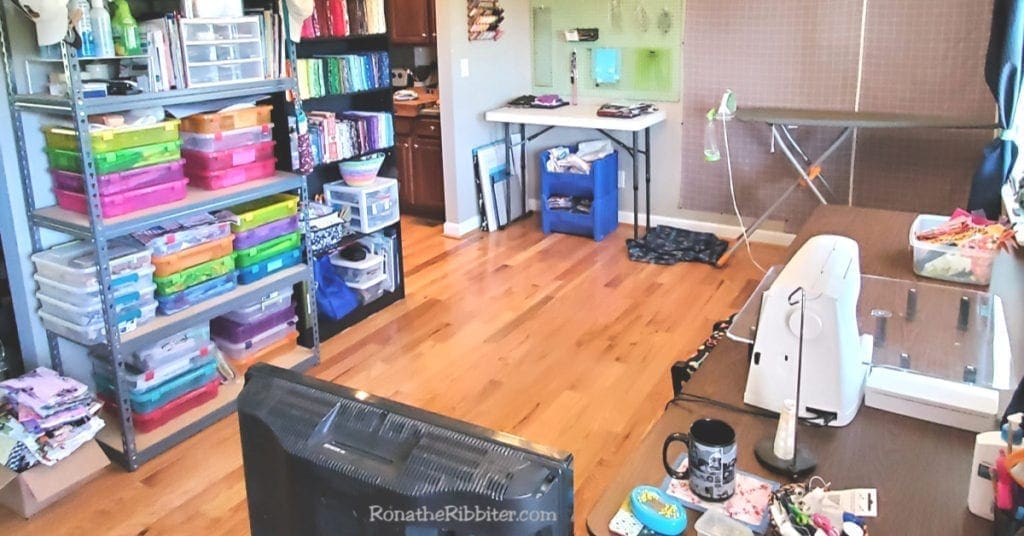
I decided the best place to start would be on the right. Well, the right side of the room anyway, and work my way to the left wall. Yeah. I’m sure the before and after shots tell most of the story.
I have to be honest here, one of those boxes full of fabric that I never went through was left over from our move. Yes, we moved almost a year ago. *hanging my head in shame.
After going through both boxes I started a fabric pile that I would sort through later. Little did I know how that would go.
Next, I gathered the project pieces that were in progress and put them in their assorted containers.

And finally, I actually cleaned off my desk. Y’all that desk has not been used AS a desk the entire time we’ve lived here. I actually kind of like using it now!
How to organize your sewing studio table
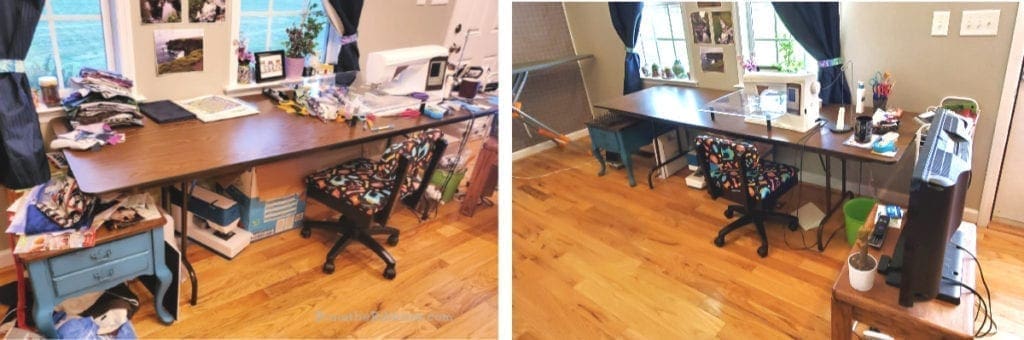
Oh the dreaded sewing table. Now, if you’re like me, this one ALWAYS stays messy. I find myself more often than not just pushing things aside to make room for whatever fun project I’m working on next. It’s not until things get really out of hand do I actually manage to put anything away or (gasp) throw something away.
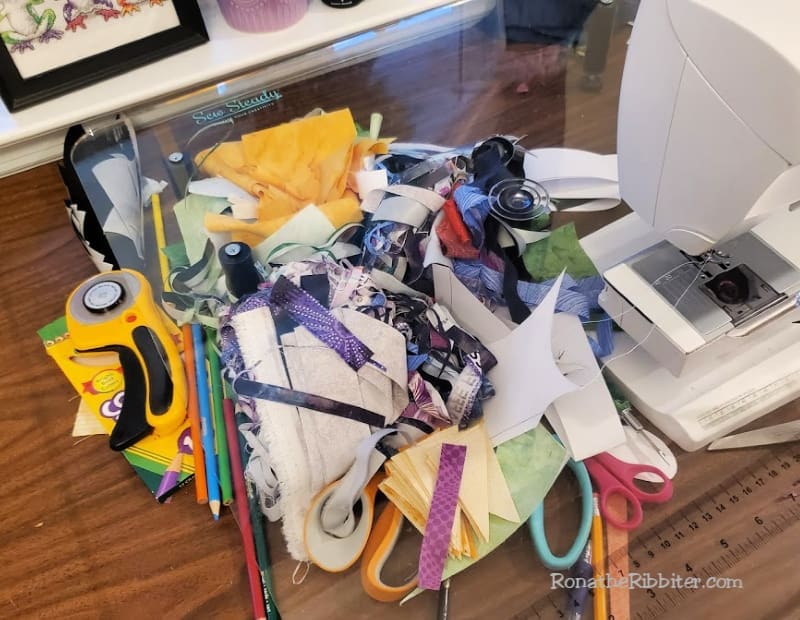
But, I said I was all in so, I went all in. The first thing I did was go through everything that was fabric and add it to my fast growing fabric pile. Then, I sorted through everything else. Y’all I found stuff I’d been looking for for months!
Then came the real task of cleaning UNDER the table. Oh yes, dust and threads for DAYS. But, I finally got it all swept up and organized. That box you see under the table? That is my collection of interfacing and stabilizers. Yes, I have that much. lol
How to organize your studio shelves

Ok, this first ‘before’ picture I almost didn’t include. It’s SO embarrassing! Yes, that is a huge pile of fabric and thread and a mess of things on the FLOOR! Bad Rona! I did mention the whole “piles” and organized chaos thing, right?
Well, by including the photo, I definitely had to fix it. So, I got to work sorting through everything that was on the floor (including that roll of sample quilts for a book I’m working on) and found them a home.
All of the fabric I added to the previous piles and began organizing everything by color and size.
Basically, anything about a half yard or larger went into the “fold it” piles and everything smaller went into the “bin it” piles. Check out more on folding fabric HERE.

Y’all… that scrap fabric pile I mentioned? This wasn’t even all of it. I know. You don’t even have to say it. My husband already commented for you. lol
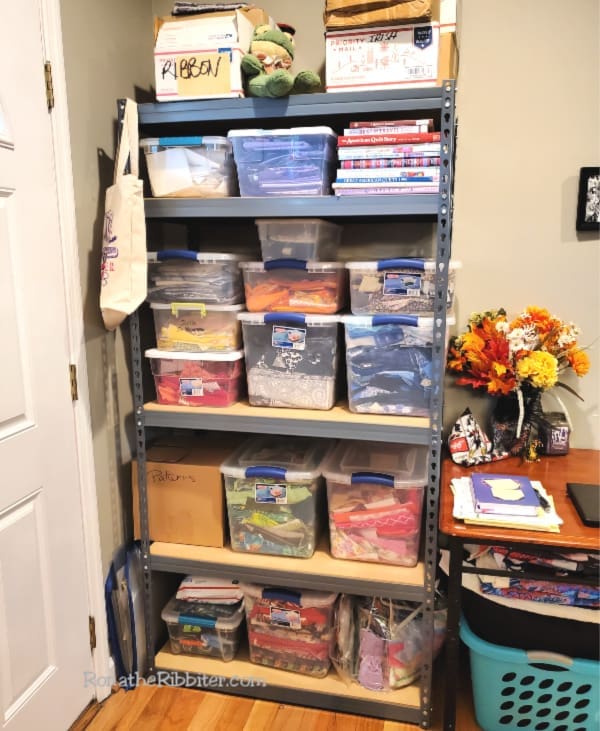
All of the smaller pieces of fabric were sorted by color and placed in these clear bins. Also on this shelf are the holiday bins (bottom shelf), box of patterns, and just a few of my favorite quilting books.
As for the rest, I folded all of the yardage roughly the same size and stacked them in color order like a rainbow. Don’t they look pretty on the shelf!?
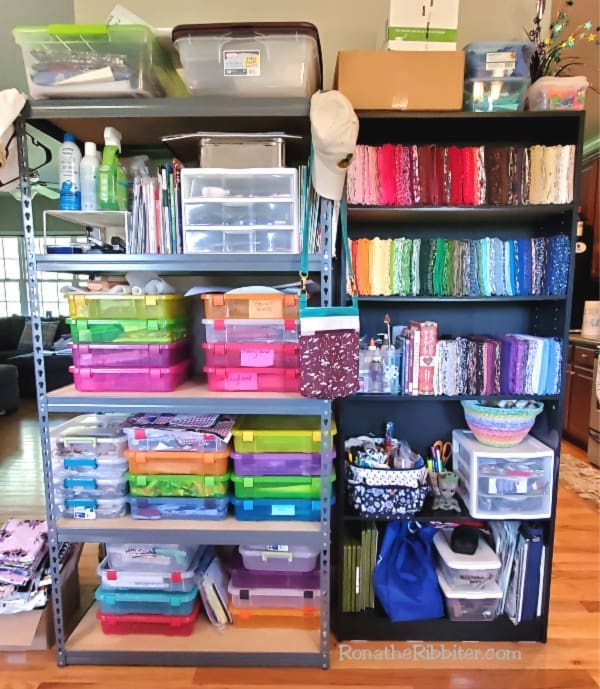
Since these 2 shelves are the closest to my sewing machine and will get used the most often, they hold my fabric yardage, all in-process projects (yes, each one of those bins holds a different project. Don’t judge me. lol), and most of my odds and ends supplies.
Personally, I really like these heavy duty shelves from Edsal (the one on the left). Even though they don’t have sides, they will hold a LOT of weight. And trust me, the more fabric and books you acquire, the heavier the weight.
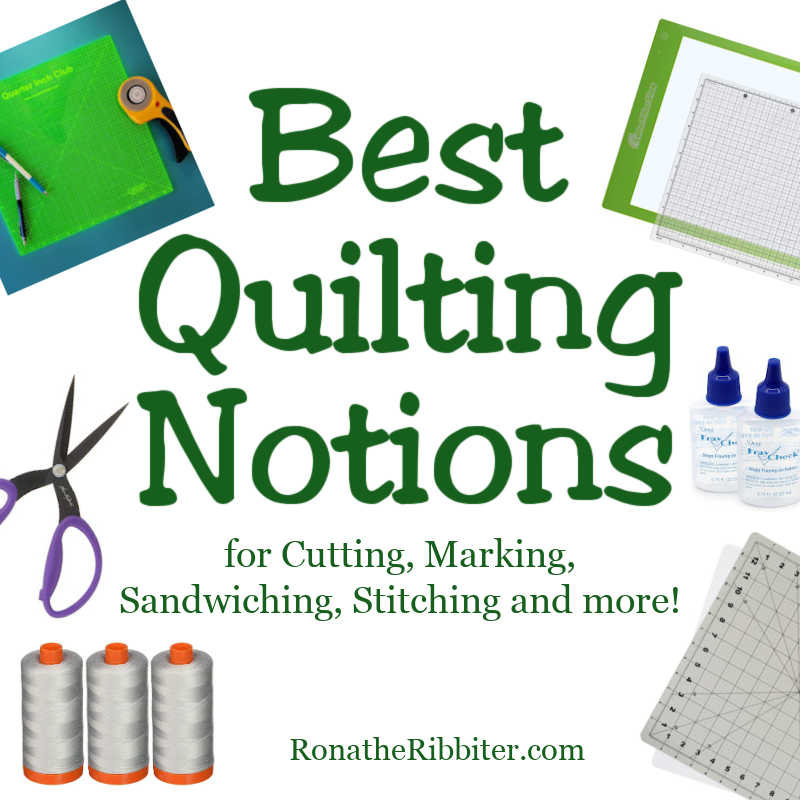
Click HERE to check out my favorite ‘must have’ quilting gadgets!

In March, 2023, Brandy Maslowski, Lisa Baker (SewEndipitous Quilt Shop) and I met on Quilt Babble LIVE to discuss all things cleaning and organizing your sewing studio. Click HERE to check out all the fabulous organizing tips and tricks!!
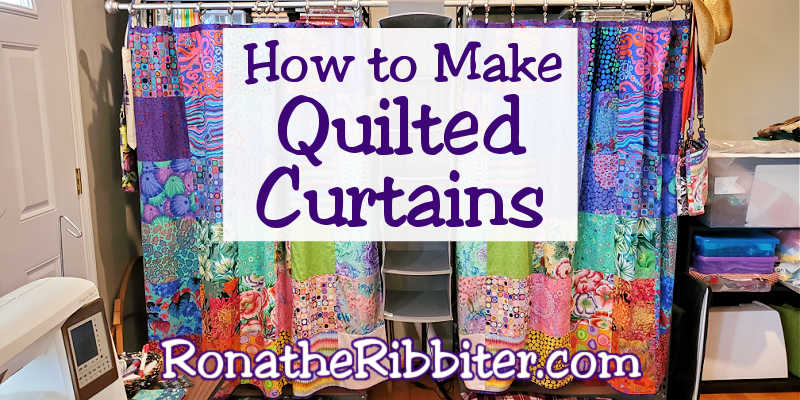
Not long after organizing my studio I was quickly getting distracted by all the gorgeousness on the shelves. SO… I made curtains!! Click HERE to check out how I made these fabulous shelf curtains!
I can’t believe how great my studio looks! Even my son commented how surprised he was that the room was clean. Truthfully, it’s never been this clean and organized. Anyone want to take bets on how long it stays this way? HA!
Have some favorite organization tips to share? Let me know in the comments!
*Disclosure: Please note that some of the links above may be affiliate links. When you click and purchase an item I earn a commission at NO additional cost to you. All the money raised helps to keep this blog up and running.
RELATED POSTS:
- How to Store Quilting Supplies in Small Spaces
- Can you complete the Big Quilter’s Bucket List?
- Complete Lists of Quilt Shops in the US!
- Watch episodes of Traveling Quilter show!
Do you know someone who’d love my Spring Cleaning tips? Click the buttons below to share with your friends! Then be sure to join us in the Traveling Quilters group on Facebook to for more travel adventures!
more on the blog


Books, Patterns, Shirt, Mugs and more!
-
 Traveling Quilter Books
 -
Life Happens, Quilting Helps Quilting T-Shirt Unisex
-
Quilter’s Travel Journal – Shows and Retreats
-
Traveling Quilter T-shirt – Unisex
-
Missouri Star Quilt Retreat
-
Quarter Inch Club Quilting T-Shirt Unisex
-
Kiss My Stash Quilting T-Shirt – Unisex
-
Traveling Quilter 18 oz. Travel Mug


Oh, I am so glad I am not the only one who makes piles! I felt the same way after cleaning my studio-I love my space now and it is so much more conducive to productivity, but also being a peaceful happy place again.
It’s funny because I always thought my father was joking when he’d talk about his ‘organized chaos’ piles. Little did I know how serious they were. hahaha